Kirby Allison, founder of The Hanger Project, shows how to shine a new pair of Allen Edmonds dress shoes. In this video, Kirby uses a series of Saphir products to give these elegant Park Avenue Cap Toe Oxfords the extra shine they deserve. By the end of the video, you will learn the steps to shine a new pair of shoes, and will be able to apply them to a pair of your own.
Transcription
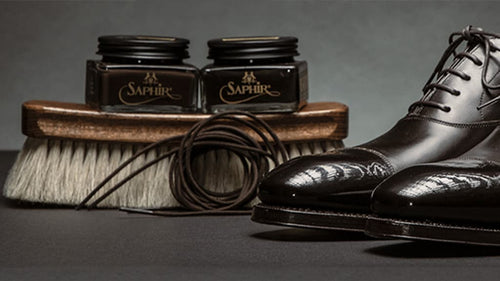
Hi, I'm Kirby Allison. Here at the Hanger Project, we love to help the well-dressed take care of their wardrobes. In today's video, I'm going to show you how to shine a new pair of Allen Edmonds. Factory made shoes like these Allen Edmonds don't receive any polishing at the factory because there's no way to do this in an efficient automated way. In order to polish a pair of new shoes, it has to be done by hand. So whenever you receive a new pair of Allen Edmonds, despite being as beautiful as they are, they haven't been polished. So here at The Hanger Project, we always recommend that you take a little bit of time to polish a new pair of shoes. The reason is that by polishing a new pair of shoes you're hydrating the leather, you don't know how long that leather has been sitting there without any type of nourishment. And then second you're going to build a really nice finish because of the waxes and the pigments and a high quality shoe polish like the Saphir Medaille d'Or. So at the end of shining a new pair of shoes, you've really brought those shoes to life and given them dimension. And so because of that we absolutely recommend that you take a little bit of time to shine a new pair of shoes. Today, I have a brand new pair of dark brown Allen Edmonds cap toe oxfords. These are beautiful shoes that are straight out of the box and as you can see they haven't been polished.
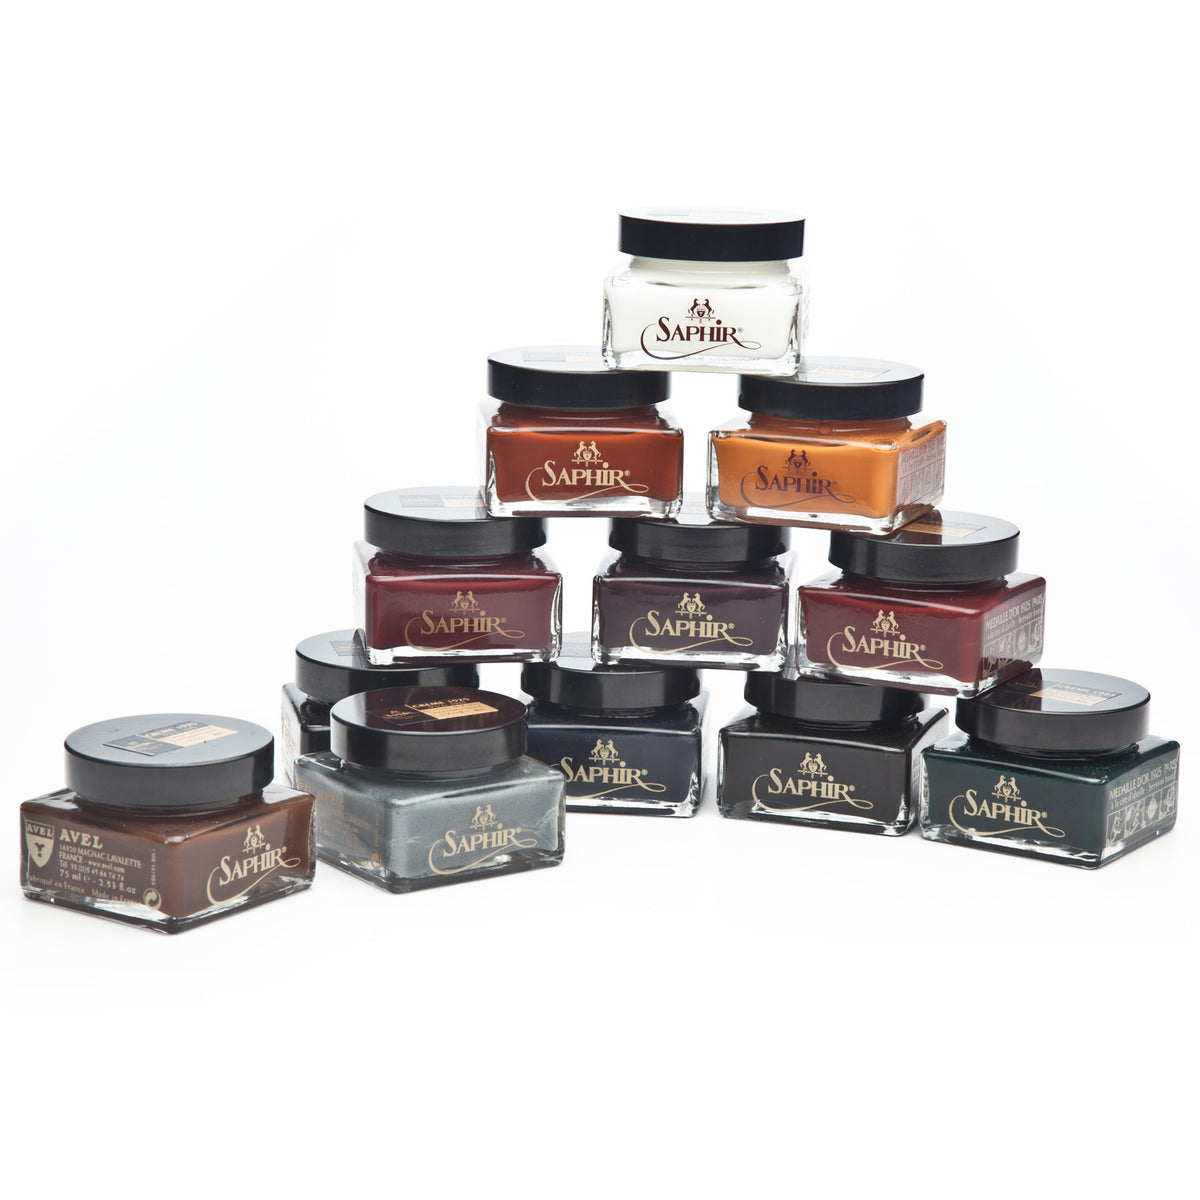
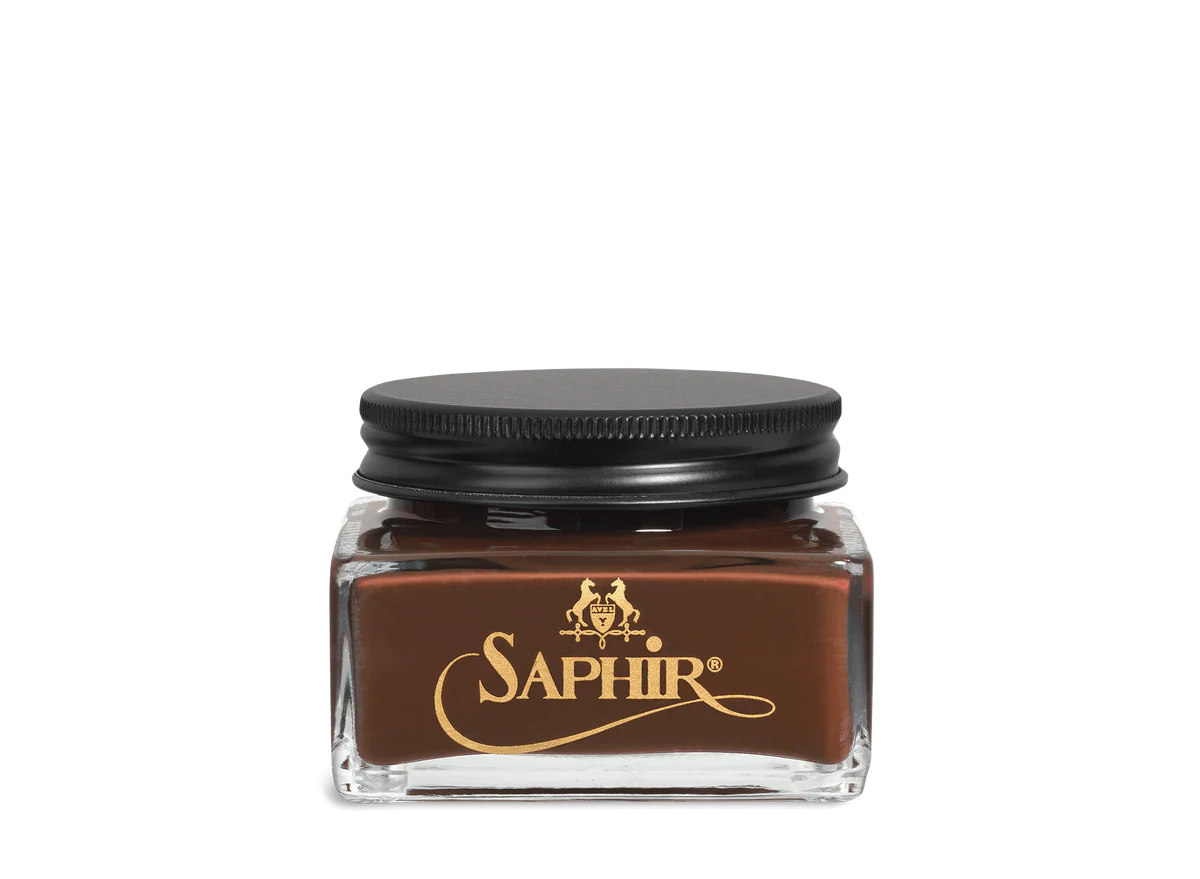
So although the finish is beautiful because they're brand new, you don't see any depth or dimension because of the waxes of a nice shoe polish. Whenever I shine a new pair of shoes I like to start with a little bit of Saffir run of a tour. Now the reason I start with Saphir Renovatour is going to provide that deep nourishment and conditioning to the leather. Again, you don't know how long it's been since these shoes were on the shelf and so it's just nice to make sure that you're properly hydrating the leather before you're wearing them just to keep that leather soft and supple. Here at The Hanger Project, we recommend using the Saphir Pommadier Cream Polish, the high concentration of pigments is going to do the best job recovering the leather and renewing the finish.
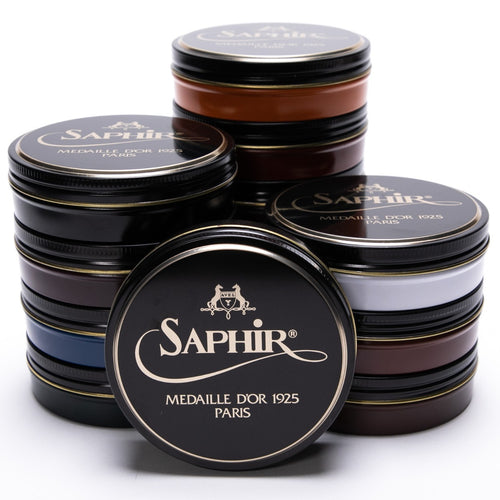
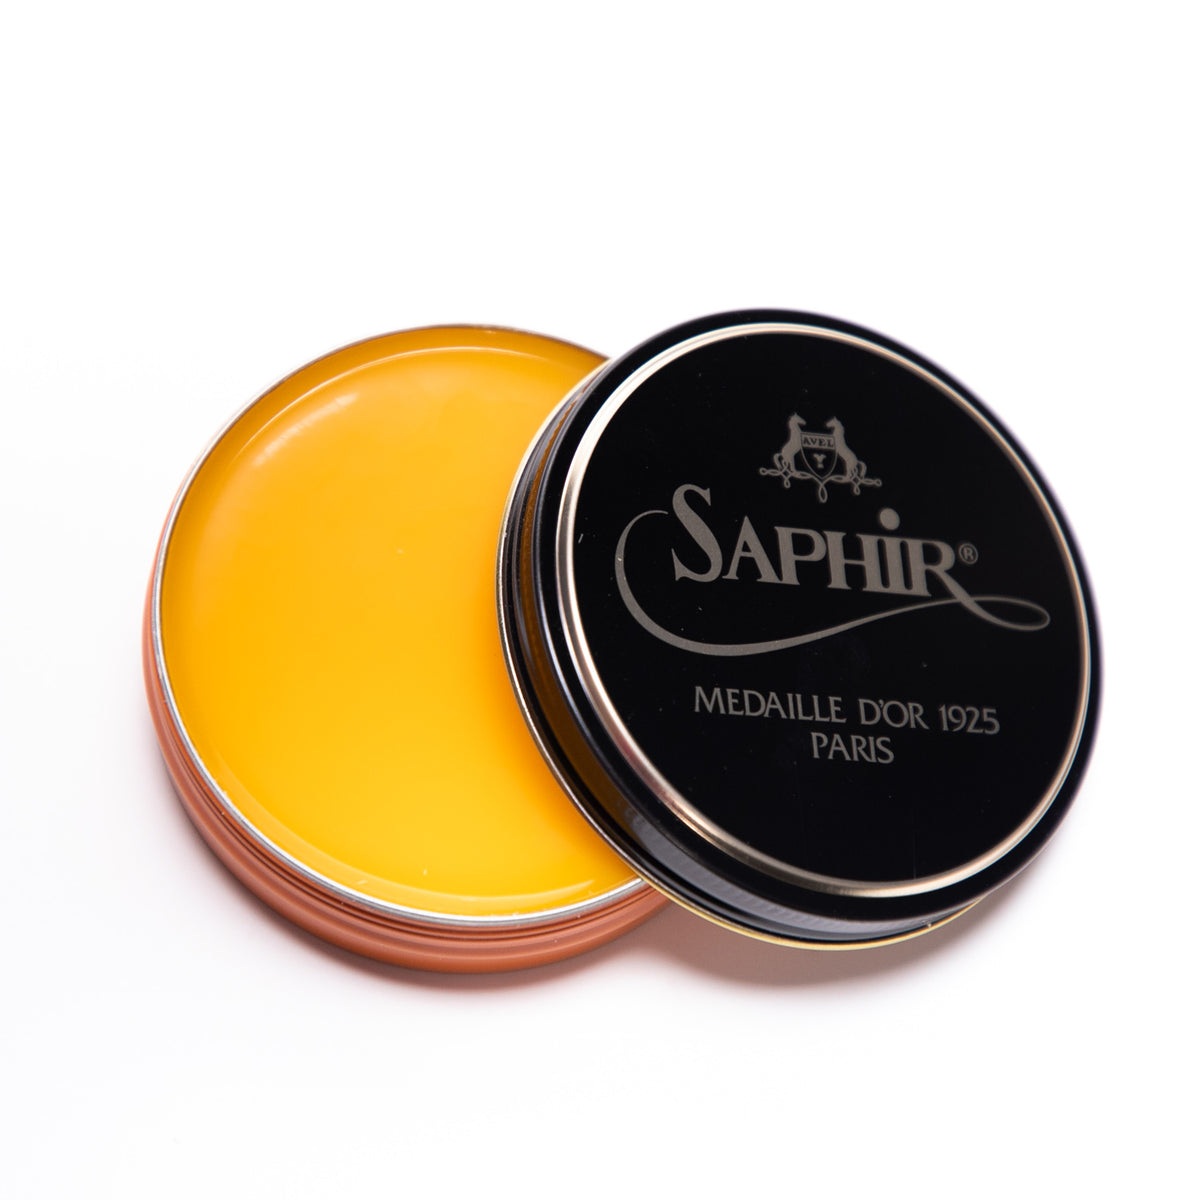
Also the nice soft waxes are going to begin to build that protective wax finish that really gives a shoe the pop that you want from them. Next I'm going to use some Saphir Pate de Luxe Wax Polish the hard waxes in a wax polish are going to get continue to build that protective wax finish. Someone apply one or two coats on the entire shoe and then begin to build a nice kind of high gloss finish on the caps. Now I'm not going to go crazy on these shoes but I will use a little bit of our dark brown sphere mirror glass to help accelerate that process. So I'm going to use a little bit of Saphir Mirror Gloss to just give a little bit of dimension and differentiation from the caps from the rest of the shoe. So lastly I'm going to replace the laces with a pair of our Sovereign Grade round waxed shoelaces. Our Sovereign Grade laces we have made and Northhampton to the highest standard and so it's just a more elegant beautiful lace. Our Sovereign Grade laces are available in 75 and 80 centimeter lengths. These are size 10 shoes and with 6 eyelets I'm going to use the longer 80 centimeter length just to ensure that the ends of the laces are long enough to tie easily. If you have any questions during this video please ask them in the comments section below. I get back to all those questions personally.
The first step is to always condition a new pair of shoes using the Saphir Renovateur. The Saphir Renovateur is like liquid gold, it's a mink oil based cleaner conditioner and it just does an incredible job penetrating into leather and hydrating it. The reason that this is important with a new pair of shoes is that the leather has not been conditioned since it left the tannery and you just don't know how long the leather has been sitting there. So I always like to condition a new pair of shoes to just feed that leather which is probably a little bit dry since it's been sitting on the shelf for a while. So I'm going to remove the shoe laces again as I mentioned earlier. I don't always remove the shoe laces whenever I shine a pair of shoes because I find that it places a lot of unnecessary strain on the eyelets but with a new pair of shoes that hasn't been laced, it's a great opportunity to do so. So first, I'm going to apply the Saphir Renovateur. I like to do so with just a cotton chamois.
As you can see I've got one of our Hanger Project Cotton Chamois here. This is different than the high shine chamois in that it is plusher. And so I find that it actually does a better job applying green polish with this chamois versus our high shine chamois. So just get a little bit of cream polish on the tip the chamois and then you're just going to massage it into the leather using a medium to firm pressure and small circular motions. Now you can really see how dry this leather was because once I applied the cream polish you can see how it darkens. Just like with anything that's dry, if it darkens its color whenever you apply polished to it it just means the leather was pretty dry. Just look at the hydration. I mean it's really incredible stuff. One of the things that I especially appreciate about the Saphir Renovateur is how versatile it is.
You could really use it on almost any smooth leather from calfskin, to cordovan, to exotics so it's just a great kind of all purpose cleaner and conditioner. It doesn't have any pigment in it. So again you can use it on any shoe regardless of the color. And if you're only going to use one product to polish your shoes without question it'd be the Saphir Renovateur. After you've allowed the Saphir Renovateur to a dry, buff it off with the horsehair brush. Since these are dark brown shoes, I'm going to use my dark colored bristle brush. And the reason that you would use a dark colored bristle brush is more about just keeping your dark polishes separate from your light polishes so that you don't end up with any streaking. This is our Hanger Project 100% Pig Bristle Brush. After just one coat of the Saphir Renovateur, you could really see how much better these shoes are beginning to look. For one the beginning to shine because the Saphir Renovateur contains soft waxes and second the patina, the depth of the shoe is beginning to really come out as you're nourishing that leather and feeding it. You could always apply more than one coat of the Saphir Renovateur. The more coats you apply, the deeper going to nourish the leather. But here in this video I'm just going to apply one.
Step two, I'm going to apply the Saphir Pommadier Cream Polish. Now, a pigmented cream polish like the Saphir Pommadier Cream is what we recommend for the primary use in polishing a pair of shoes. The reason is that when compared to a traditional wax polish like a hard wax polish, a cream polish is going to do a better job nourishing the leather and also has a higher concentration of pigments in it that will do a better job re-coloring the leather, renewing any scuffs or scratches and then just continuing to develop that patina and the depth of the finish itself. If you need any help choosing the right color polish for your Allen Edmonds, take a look at our Allen Edmonds shoe polish color guide video that we have on our YouTube channel. I'm going to apply this Saphir Pommadier Cream Polish in the same way that I applied the Saphir Renovateur, I'm going to use a cotton chamois, and then just kind of dab it along the leather so that I don't get too much polish in any one area. And then I'm just going to massage it into the leather again using medium to firm pressure and small circular motions.
After you've applied the Saphir Pommadier Cream Polish I set the shoe aside and allow it three or five minutes to dry. So while the left shoe is drying, I'm going to apply Saphir Pommadier Cream Polish to my right shoe. Now that the polish is dry I'm going to buff out the polish using or Hanger Project horsehair shoeshine brush. I'm using our large brush which honestly I prefer just because the bristles are longer and I'm less likely to jam the shoe with the brush itself. All of our Hanger Project brushes use 100 percent tail hair which is less like the shed and as you can see we also pin all of her brushes to a higher density so you just get a better buff using our brush than you do something that you'd otherwise find at your local shoeshine store. Another reason I like to use horsehair at this stage is again it's a softer hair than pig bristle and so it's just going to do a better job buffing out the higher shine than what you get with the pig bristle brush which is going to take more polish off. Now that I've got this polish dry I'm gonna buff it with a horsehair brush and you know what we're doing here is the friction of the bristles against the leather is going to pull off any extra polish. And then it's going to begin to shine those waxes. So at this point you can really see a shine beginning to develop. I mean look at that after just one coat of the Saphir Pommadier Cream Polish, these shoes look fantastic. So again that's why I really recommend shining a new pair of shoes, even though they're brand new out of the box. They're never going to look as good as they do with a little bit of polish.
Another benefit of this Saphir Medaille d'OR Pommadier Cream Polish is that it uses such a high quality wax that not only can you see that a shine is produced with much more ease but it's also going to be longer lasting. And so it just persists longer and it can be easily rebuffed by just rebuffing with the horse hair brush. So there we go left shoe is done, I'm going to set that aside and then buff the right shoe. So here we are with just one coat of the Saphir Pommadier Cream Polish and you can really see the shoes beginning to take a shine. I always like to apply two coats of my Saphir Pommadier Cream Polish because the pigments are going to do a better job saturating that finish and it's just going to really deeply condition that leather and begin to develop that soft shine. Now one coat was great as you can see two coats is even better. So I've applied two coats of the Saphir Pommadier Cream Polish. I've nourished and conditioned the leather even more than I did using the Saphir Renovateur. I've added pigment to help grow new and saturate the finish and then the soft waxes had begun to develop that nice soft shine that you expect in a beautiful pair of dress shoes.
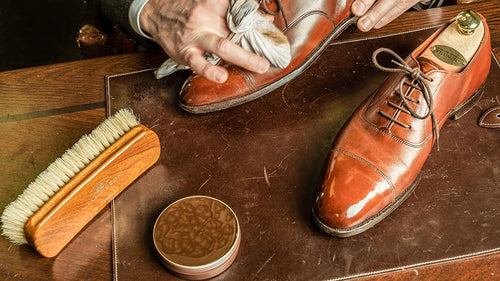
Step three is to apply the Saphir Pate De Luxe wax polish. The hard waxes in a proper wax polish are going to begin to build that really high shine. You want to be a little careful in how you apply a hard wax polish because if you apply too much across the vamp you'll end up with cracking or a wide residue. So I like to apply one coat of the wax polish to the entire shoe and then I'll come back and begin to build up more of a high gloss shine just on the toe cap and then optionally on the heel quarters. The reason you want to concentrate the high gloss shine on the toe in the heel quarters is because that's the hard countered area of the shoe. Basically these areas of the shoe are reinforced with a hard piece of leather that doesn't flex or bend so you don't have to worry about the waxes cracking like what you would across the vamp. I really prefer using our high shine chamois when applying waxes. Now our Hanger Project High Shine chamois we have made out of a super 180 cotton shirting and it just has a really tight weave. You don't have to worry about any fuzz getting onto the finish and disrupting the shine. So this is really the cloth of choice for applying wax polish. So I have a dark brown Saphir Pate de Luxe Wax Polish. And I'm going to apply it using the high shine chamois. My first coat is going to be the entire shoe. And then what I'm going to do is concentrate this just on the cap to really begin that build that high shine. I have the first coat of Saphir Pate de Luxe applied to the entire shoe and allowed three to five minutes to dry. And then I'm going to buff it off using a special technique. I'll show you about a moment.
Now that the first coat of the Saphir Pate de Luxe Wax Polish is dry, I'm going to buff off the wax, not using a horsehair brush but instead using my high shine cotton chamois with a little bit of water. Now one little trick to get a really fast shine is actually to use cold water. So I took the water for this out of the refrigerator. And again the cold water just does a better job hardening those waxes as you buff it off. So I've got a little bit of water on my chamois. And I'm just going to began polishing this really quickly. You can actually just dab a little bit of wax polish onto the chamois and that helps also. So this is more about really bringing that wax polish up to a high shine than it is about buffing it off. You can still buff it up using a horsehair brush if you don't have the time to do this but I just find that using the high shine chamois, a little bit of cold water and just a little bit of wax polish is going to produce a higher glass shine than buffing with the horsehair brush alone. We actually outlined this method in another video called the Berluti method and this is one of the ways that Olga Berluti was able to develop such a high gloss shine on her shoes is she actually didn't use any cream polish at all. She primarily used wax polish with cold water. She'd actually use ice water. And a nice cotton chamois like this.
As you can see the hard waxes in the Saphir Pate de Luxe are really beginning to elevate this shine, so I'm going to actually apply just a little bit more of a wax polish onto the toe cap and let this dry while I buff off the wax polish on the right shoe. And then what I'm going to do next is introduce the Mirror Gloss and just show you how quickly with just a little bit of work using the Mirror Gloss you can elevate the shine of the cap and how nice of an effect that does, really providing just a nice little shine. Now that I buffed the wax polish of the entire shoe using my chamois I'm going to apply a little bit more Pate de Luxe Wax Polish onto the cap itself and I'll set this aside and allow it to dry and then after I'm done with this shoe, we're going to transition to really concentrating in the cap to develop a little bit of a higher gloss shine right there. Okay so I've finished applying the Saphir Pate de Luxe to the entire shoe and now I'm going to transition to really focusing just on the cap. Now that cap is hard countered and what that means is that there is an additional piece of hard leather that stiffens this area of the shoe to prevent it from flexing. It's what allows the cap to hold its shape but that also allows you to develop a nice high gloss shine on the cap without having to worry about it cracking.
So the way that I'm going to do this, and it's completely optional is I'm going to use the Saphir Mirror Gloss combined with the Saphir Pate de Luxe to really build that foundation of hard waxes to allow us to get a nice higher gloss shine. The level of shiny you have in your toe caps one of the first things people notice whenever they see you so spending a little bit of extra time developing a higher gloss shine in your toe caps just sends the message that you're someone that minds the details and should be taken seriously. I'm going to show you that using the Saphir Mirror Gloss it's really quite easy to develop a higher gloss shine in your toe caps. The technique to develop a high gloss shine on the toe cap is totally different than the rest of the shoe.
What you want to do is you want to apply the wax polish, allow it to dry, and then just put a little bit of water on the toe cap itself. Dab a little bit of Saphir Pate de Luxe. You're just going to buff the toe cap using light to medium pressure, a little bit of water, until a high shine begins to develop. You're going to repeat this process until reach your desired level of shine. Developing a high shine on the toes just takes patience and time. It's not something that you can rush and in the beginning it's going to look like you're making no progress. But then it all comes together right at the end. Ok so I've got that first coat of the Pate de Luxe Wax Polish developed and nice shine. Now this is the point where I'm going to bring in the mirror glass. This is a new tin of our dark brown Mirror Gloss, it's one of the newest colors we've added. The Saphir Medaille d'Or Mirror Gloss is really a quite incredible product, it's a product that we had Saphir developed especially for us and it has a much higher concentration of hard waxes and a much lower concentration of the solvents. So it's a totally different wax than the PAte de Luxe and it's perfect for just developing that foundation of the mirror shine. So what I'm going to do is I'm going to use the Saphir Mirror Gloss to develop that foundation of hard waxes and then I like to come on top of it using that Pate de Luxe which has a higher solvent concentration and really buff it to a nice high shine. I find that the solvents in the Pate de Luxe almost melt the waxes and that's what allows it to really buff to high shine. I have a nice coat of the Mirror Gloss applied to this cap, now I'm gonna set this aside.
Because the Mirror Gloss has such a high concentration of hard waxes it actually dries quite quickly. But I'm going to give it a few minutes to dry while I'm buffing off the first coat of the Pate de Luxe off the right shoe. The Mirror Gloss is a really dry polish that just doesn't have much solvents in it. The solvents are what's going to melt that wax and really help you shine it and produce that high gloss shine. So the water helps and I find that the water with the Pate de Luxe Wax Polish is like magic. That's not to say that you couldn't just use the Mirror Gloss and a little bit of water. You know that would work also. I just find that the Pate de Luxe just makes it that much more efficient. But I like to use the Pate de Luxe as the first coat because again the rich solvents in the Pate de Luxe is going to help penetrate that leather. And begin to saturate the pores of the leather to allow you to develop that mirror shine. So at its foundation the mirror gloss process is really a three step process in and of itself. First you prime the leather using the more solvent rich Pate de Luxe then you begin to build that foundation of hard wax is using the Saphir Mirror Gloss and then you finish it off with just a little bit of water and a tiny amount of Pate de Luxe to really glacage and elevate that high shine. So we're on the third step of this process so I'm going to apply a little bit of water to my chamois. Just just enough to dab my Pate de Luxe wax polish and then I'm going to begin to buff those hard waxes and the Mirror Gloss to shine. Now again this is the part of the process that you really can't rush. You want to use light pressure a little bit of water just a little bit of a Pate de Luxe Wax Polish because you want to pick up those solvents and you're just going to watch this kind of melt the waxes into a beautiful high gloss shine.
And you just need patience, with enough time that high shine really will come through. And then of course depending on the desired level of shine you can do this multiple times. So depending on the desired depth of shine You can repeat this process as many times as you'd like. Once you begin to feel your chamois drag across the leather that's the point you need to add a little bit more water just to help lubricate the chamois and to prevent it from scratching or disrupting this nice mirror gloss surface you're begining to develop. So what you're doing at a fundamental level here is you're filling the pores of the open grain leather with wax and that's what allows you to create a smooth surface that shines. And so as you do this you have to apply the wax polish, allow it to dry, and then buff it to a shine, and you're essentially just building a bunch of layers until finally it's completely glassy smooth and that's what creates a mirror shine. Now it's not to say that you'd have to spend 30 minutes doing this or an hour. Even just a little bit of work like what you see I'm doing right here develops enough of a high shine that the cap really begins to stand out from the rest of the shoe. And that to me is really the goal that you're going for here you just want enough of a shine that the cap stands out and someone can tell that you spent a little bit of extra time actually shining your shoes. You'll never see anything like this at a shoe stand because anyone that's shining a pair of shoes in a shoeshine stand is just looking to do the shoe shine process as quickly as possible. So this is something you're really only going to do yourself. You're not going to find anyone that's going to spend 30, 45 minutes shining your shoes for you. Part of the hazard of developing a high shine in the cap is you can really get sucked into this you can just absolutely fall into it end up spending, it's almost hypnotizing, you get hypnotized by the shoe and end up spending way more time developing the mirror shine than you intended on the onset and that's half the fun. I mean once you really learn how to shine a pair of shoes you begin to really enjoy it. I mean I find it to be tremendously therapeutic. And you know whenever I'm wearing my shoes I just have a different level of pride knowing that you know I've taken great care of them and that they look absolutely incredible.
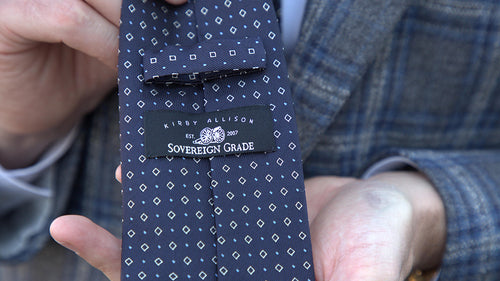
I've truly been surprised as I've traveled around the world, the number of gentlemen that I've met that you would never suspect actually enjoy shining their shoes themselves. And these are people that you know have the means to easily pay someone else to do it, yet it's something that they prefer to do themselves. It should also not come as a surprise that a man with a properly shined pair of shoes is always treated better than one without. Whether it's at the airport or at a restaurant. You can always see whenever someone glances down and takes a look at your shoes. OK I'm getting carried away I'm going to have to stop myself but I've got an absolutely incredible shine here. I could easily spend another 10 or 15 minutes and get this to be like glass. But in the interest of this video I'm going to set this one aside and begin working on the right shoe. So I finished doing the mirror shine on the cap toe have these Park Avenues. And again this is really something you can fall into and just lose track of time. So I always try to step away from the mirror shine process which is to give me a little separation from the shoe. Sometimes I'll even put them on the floor to look at them from a realistic distance because inevitably if you're doing the mirror shine and it's right in front of your eyes you're going to see tiny imperfections in the mirror shine that just aren't going to make a difference in the big scheme of things once you're wearing the shoes. I'm going to replace these Park Avenues using our Sovereign Grade shoelaces that we have made exclusively for us. Here at The Hanger Project, we're proud to have one of the widest and most comprehensive collection of dress shoe laces available anywhere in the world. All of our Sovereign Grade Laces are made exclusively for us and Northampton, which is the center of the British shoe making industry and they're made to the just the absolute highest quality standard.
Unquestionably prefer our Sovereign Grade Laces to the standard laces that come in the Allen Edmonds shoes because it's woven with a much finer thread and it just produces a more elegant lace to me than the standard Allen Edmond one. If you have any questions about which size shoelace to choose, just take a look at our sizing guide that we have on every shoelace listing. I chose 80 centimeters for this shoe because it's a size 10 and has six eyelets so it's going to consume a little bit more shoelace than a standard five eyelet shoe would. My preferred method for lacing shoes is with the straight across or barbell method. Just because I find it's much neater. We have a full video on how to do this on our YouTube channel. But the general format is quite easy. You want to start the laces and get them to be approximately the same length. Now, I've never been able to lace my shoes and end up with them exactly at the same length in the first time. I would say don't worry too much about that you could always adjust the final length after you're done. And then what you're going to do is you're going to go across and up. And then back down through the eyelet. And then this is the important part you alternate, and you're skipping every other row. So I'm skipping from here to here. And then going down. Up. Across. Down. Out. I'm going to insert the shoe tree. And then I'm going to tie the shoe using our Berluti Knot. Now we have a video on the website on how to do this. Of all of the different lacing methods, the Berluti knot unquestionably is my favorite. Because one, it is in effect a double knot. And then secondly it is the most symmetric of all the different knots. And how you tie your shoelace, again it's just one of those small little differentiators that kind of sets you apart from the rest of the crowd.
As you can see even a new pair of Allen Edmonds can use a first polish. Just spending a little bit of extra time polishing these new shoes has transformed what was a beautiful pair of Allen Edmonds to an absolutely incredible pair that is really going to stand out in a crowd of other shoes. The extra time spent developing the mirror shine in the cap really to me is the final touch that sets these shoes apart. I mean having a nice shine on a pair of shoes certainly is going to set you apart from 99 percent of the other men out there. But having a nice mirror shine on the toe is that final extra step that just really takes these shoes into the stratosphere. I can't impress to you enough how big a difference a little bit of shoe polish makes on even a new pair of shoes. Just to summarize how to shine a new pair of Allen Edmonds. First we started with the Saphir Renovateur to provide the deep nourishment and conditioning to the leather. Then I used two coats of the Saphir Pommadier Cream Polish, again that pigmented cream polish is going to help renew the finish and then begin to add those soft waxes that's going to elevate the shine. Then I applied one coat to the entire shoe using the Saffir Pate de Luxe, again the hard waxes are going to elevate that shine even further, and then the next step is I elevated the shine on the toe. The hard countered part of the shoe to a nice mirror shine using a three step process, alternating between the Saphir Pate de Luxe, the Mirror Gloss, and back to the Pate de Luxe.
And the last step of any new shoe shine with a pair of Allen Edmonds is to switch out the laces with a pair of our Sovereign Grade laces. An old worn pair of shoe laces can even make a beautifully polished pair of shoes look shabby. So that's why I always recommend switching out the standard shoe laces with a pair of our premium Sovereign Grade shoelaces. If you have any questions about anything I discuss in this video please ask them in the comments section below. I get back to all those questions personally and of course please visit hangerproject.com where we have the largest, most comprehensive collection of luxury garment care and shoe care accessories in the world as well as other accessories for the well-dressed. And while you're there, subscribe to our newsletter to receive notifications of new product launches and promotions as well as a weekly digest of all the videos we publish here on our YouTube channel. If you liked this video give us a thumbs up, or better, subscribe to our channel and turn on notifications so that you know when we release new videos. I'm Kirby Allison and we love helping the well-dressed take care of their wardrobes. Thanks for joining us.