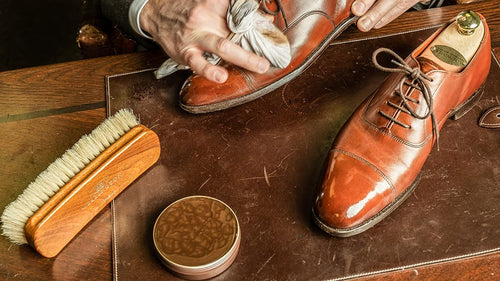
Learn our Presidential Shoe Shine. This is our most comprehensive shoe care routine, which we recommend for only once to twice a year to give your shoes a total rejuvenation.
Products used in this video:
Transcription
Hi, I'm Kirby Allison founder of The Hanger Project. The purpose of this video is to show you the Presidential Shoeshine. This is our most thorough and extensive shoeshine here at The Hanger Project and we recommend it for once or twice a year total rejuvenation of a pair of shoes. For this demonstration, I'm going to be using my first pair of GJ cleverly bespoke shoes. I received these whole cuts about three years ago and you can see that after continuous use over the time, you're really starting to see the build up of the polishes and not just the build up, but you can see where it's cracking around the toe box, I've got some water stains on the side, so these shoes have reached the moment in their lifetime where they really need total rejuvenation. For that, we designed the presidential shoe shine.
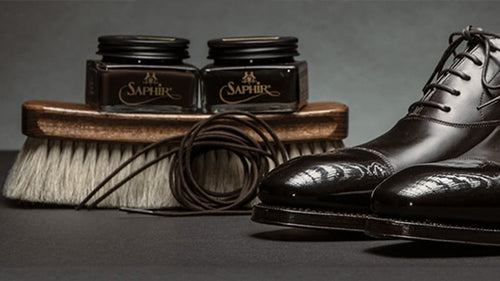
First, what I'm going to do is start with the Saphir Renomat which is the strongest of the leather cleaners that we sell here at The Hanger Project. Now this cleaner was developed for Saphir specifically with the purpose of removing any type of wax or resin buildup that accumulates on top of the leather. What that's going to allow us to do is strip off all these waxes that have accumulated over multiple polishes and then pull off any type of resins or silicones that might have been placed on the leather from cheaper, more inferior, you know, shoe polishes like what you'd see at a shoeshine stand at an airport. Now, that's not problem with these shoes but that's also a reason why you'd want to use the presidential shoe shine. After that what we're going to do is we're going to restore the leather back to the original condition after the leather was tanned. It's not pulling the original finish of the shoe off, it's pulling at anything on top of that leather. Now what that's going to allow us to do is then come on top with the Dubbin Graisse which is an animal and plant based conditioner. This is a really strong potent stuff so it's going to really provide deep conditioning and nourishment of certain areas of the leather. After that, I'm going to come on top with the Saphir Renovateur which is a mink oil base cleaner and conditioner. This is going to further condition the weather which is really important to preserving the quality of the leather over a long term horizon, and it also contains waxes which is going to allow us to start building up that wax finish. After the Renovateur, I'm going use the Saphir Medaille d'Or Pommadier Cream Polish- it's a pigmented polish which will allow us to restore and rejuvenate the finish of the shoes, and then I'm going to finish with some Saphir Pate de Luxe wax polish which is going to build that higher gloss shine which I like on my shoes and then also that protective wax finish. Since this is a total care, we don't want to forget the rest of the shoes so I'm going to use this Saphir Medaille D'Or Sole Guard to condition and waterproof the soles of the shoe and then lastly, I'm going to finish off with the Saphir Edge Dressing to finish basically restore and renew the color on the edges of the shoes.
The first step of the presidential shoe shine is to use the Saphir Renmat to strip off anything that's been placed on top of the leather. This is a great component of this presidential shoeshine because this is something you're only going to do once or twice a year. It is not something that we would recommend using more often than that because it is a pretty strong cleaner. First, start off by basically just applying the RenoMat on a cotton chamois. I've got one of our Saphir chamois' here. I prefer using one of our plusher chamois because it takes more of the Renomat. And as with anything we always recommend that you first test this on a hidden area of the shoe to make sure that it doesn't react in any unintended ways.The Saphir Renomat was designed to be used on the highest quality Leathers so you really shouldn't experience any problem with high quality expensive shoes. Really where we see problems are on lower quality shoes that might have used different type of dyeing techniques. Sometimes the Renomat can remove that. If you feel that it's actually affecting the original finish the shoes, stop using the Renomat. After you've tested it basically what you're going to use is the cotton chamois to pull the wax finish off the shoe. You're going to use moderate to firm pressure and small, circular motions, and you're going to see that the Renomat is actually pulling the wax, even some of the pigment from prior polishes off of the leather. Does require a little bit of elbow grease. Feel free to apply more Renomat and get to work.
So the Renomat does require a little bit of elbow grease here, especially in the areas of the shoe where you have a lot of buildup of hard waxes, particularly the toe box. I've been going at the toe box for three or five minutes, switching to a clean part of the chamois, applying some more Renomat, and trying to massage and rub that hard wax off. You can tell that you're done whenever you look at the end of the shoe and you just don't see any of the build up of hard waxes any more. I'm pretty satisfied with having pulled off all the waxes off of the shoe, I've got it to where I want it to be, So the last step that I like to do is spray a little bit of water on the shoe and then rub it with a clean chamois. The purpose of this is removing any of the residual buildup of the Renomat that's left in the leather. Just to be careful. I like to pull as much of that off as possible. You can even run your shoes under some water but the point is after the leather has absorbed some of this Renomat is to try to get as much of that off the leather as possible. So you can see now whenever I sprayed the shoe with water and I used this clean chamois I'm not getting any white suds so that's telling me that pulled all of that off the shoe. So now that we've used the RenoMat to pull any of the accumulated resins or polish off of these Cleverley's, I'm just going to allow them to dry for 30 minutes to an hour and then I'm going to come back on top of that with a dubbin. After we have allowed the shoes to dry a little bit after using the water to clean the RenoMat off, what we're going to do is we're going to provide deep conditioning and nourishment using The Saphir Dubbin.
The Saphir Dubbin is a mink oil based dubbin graisse and it contains a high concentration of fish and animal fats. What this is going to do is it's going to penetrate the leather to provide that nourishment to keep the leather soft and supple which prevents cracking and keeps it hydrated.You can also use the Saphir Medaille D'Or Mink oil which is a newer product which is a highly refined 100 percent mink oil. They both work in the same way. But for the purpose of this demonstration I'm just going to use the Saphir Dubbin. First. Apply the dubbin using a cotton chamois. I'm just going to twist it around my fingers and a clean portion of the chamois. And then second, because the Dubbin is so potent you really just want to apply it across the vamp and on the side of the shoe. You don't apply to any of the hard countered areas like the toe or the rear where you'd want to build a really high gloss polish because the dubbin can make it a little bit difficult to build that polish. Apply with a cotton chamois. Less is more. Apply it using small circular motions and moderate to firm pressure; I'm going to take it across the vamp and around the sides. Now the purpose of the Dubbin is the conditioning, so what we recommend is that you've applied that Dubbin you allow at least a day for the leather to absorb those really deep, thick, nutrients. You can see almost immediately the leather being fed by this Dubbin. I'm going to take this all the way around the back of the shoe because this leather really needs some of this deep hydration, again I'm massaging it into the leather, across the vamp and there you go. I'm not going to buff this off like I would a traditional cream or wax polish. I'm going to allow the leather to absorb this up to a day or two and then depending on how thickly you apply this (less is more) if you apply it especially thick It will darken the leather- that just means that the leather is absorbing those nutrients. Once the leather has returned back to its original color that means that all those nutrients have been fully absorbed. At that point what we're going to do as we're going buff this off and continue by applying the Saphir Renovateur.
So we've allowed the dubbin to dry overnight, giving the leather as much time as possible to absorb the nutrients and the Dubbin, before we move on to applying the Renovateur, we're just going to buff off any excess dubbin using a horsehair shoe shine brush. Here's the shoe that we applied the Dubbin on and using light to moderate pressure we're just going to buff any excess dubbin off of the shoe.
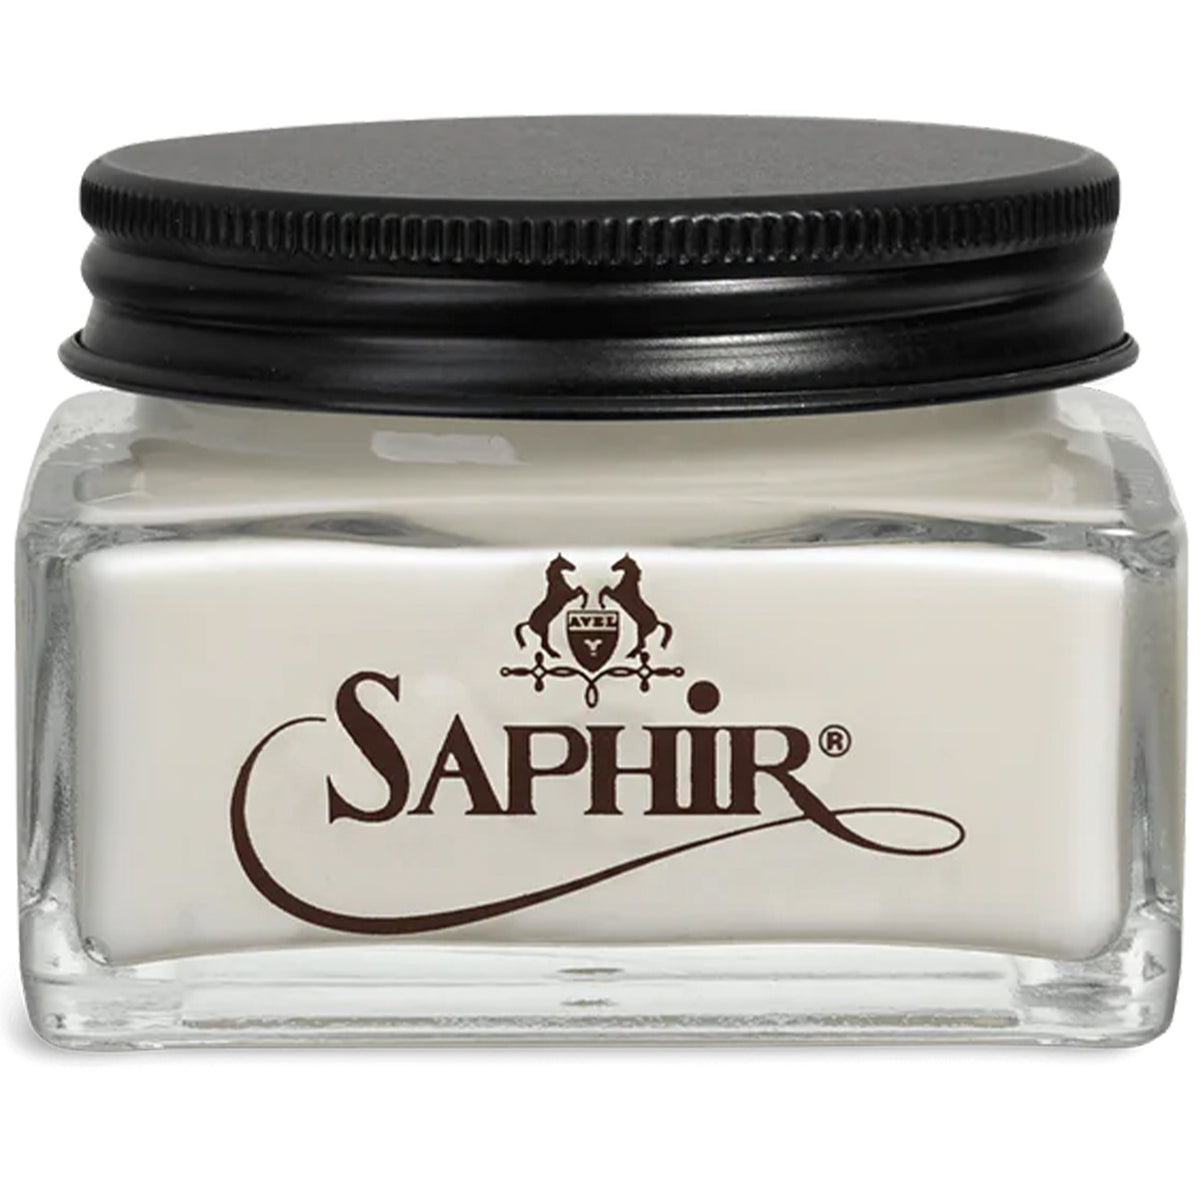
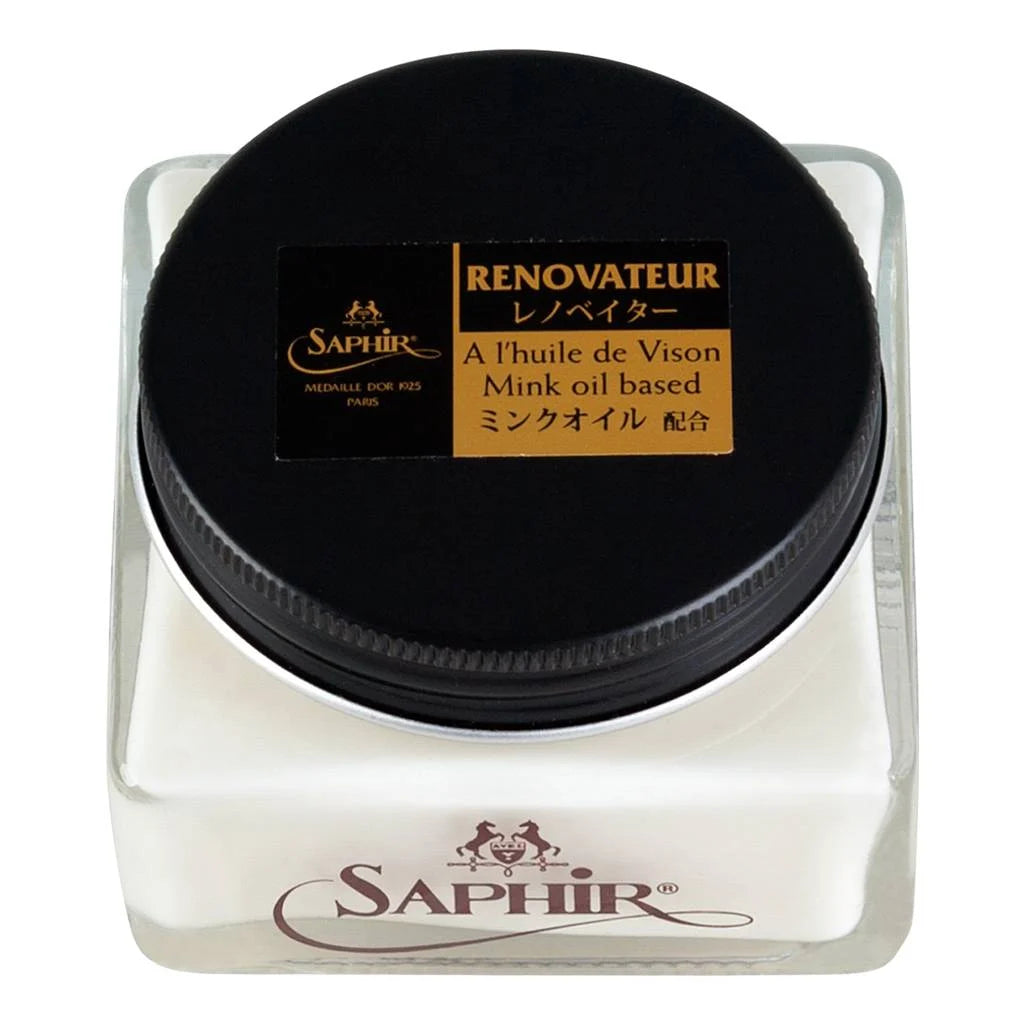
The next step in the presidential shoeshine is to begin building the foundation of our finish using the Saphir Renovateur. The Saphir Renovateur is arguably Saphir's most popular product, it's like liquid gold. It's water based mink oil cleaner and conditioner that's going to hydrate this leather and continue to nourish the skin. It also contains a small amount of waxes so you do begin to build that wax finish. We're going to apply the renovateur using a cotton chamois, and depending on how much time you have you could apply the renovateur one to two times. I'm going to put a little bit of renovateur and I'm going to massage it into the leather using moderate to firm pressure. Just like with any creams, the longer you leave the creams on the leather, the more nutrients the leather is going to be able to absorb. This is especially true with the renovateur since it doesn't contain any solvents or turpentine, it's water based, so it just requires a little bit more time to absorb as many nutrients into the leather as possible. After you've applied the renovateur allow it a good five minutes to dry. Essentially, the longer you can leave the renovateur on the leather, the more nutrients the leather is going to absorb, but because it's not as potent, it's more of an all purpose conditioner than say like the Dubbin, you don't need to leave it overnight. After you have allowed it to dry, you're going to buff the renovateur off of the shoe using a horsehair brush. This just removes any excess renovateur and it's going to glassage over the waxes to buff them to a nice shine.
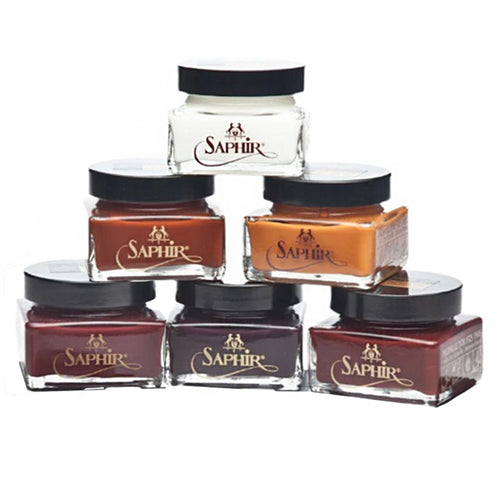
After we've begun to build up the foundation of this finish using the Saphir Renovateur, the next step is to introduce a pigmented cream polish, and there's absolutely no better pigmented cream polish on the market, especially for high end luxury shoes like these bespoke Cleverley's than the Saphir Pommadier Medaille D'Or cream. What's important about the Pommadier Medaille D'Or cream is that it's an all natural pine based turpentine cream that uses absolutely no silicones or resins. So it's going to do an incredible job nourishing the leather, recoloring because there's a very high quality pigment, but it doesn't have any unnatural ingredients that are going to clog up the pores and prevent the leather from breathing. You can smell the difference in the Medaille D'Or Pommadier cream polish. For starters it uses an all natural pine base turpentine to penetrate deep into the leather and to deliver the nutrients- it's very important because other water based creams don't actually penetrate the leather- you're just rubbing something on the surface. Second, it uses Shea butter to nourish the leather and contains a combination of over 10 different types of animal, vegetable, and mineral waxes that further nourish and protect the leather.
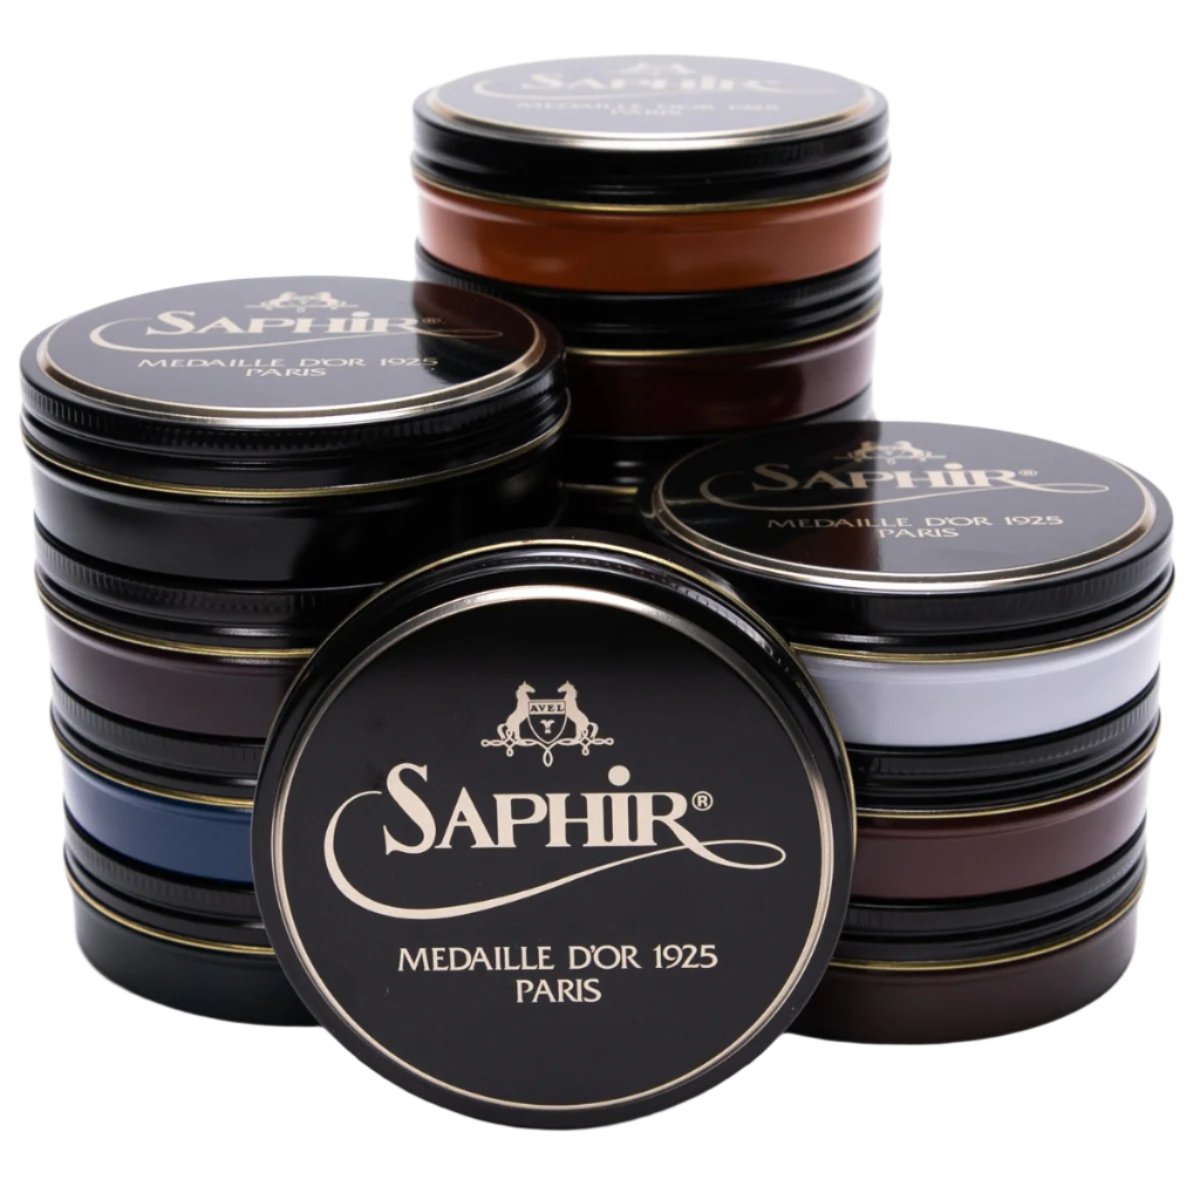
I'm going to apply this using a cotton chamois- this is one of our Saphir chamois' that we sell. You want to be massaging this into leather, you're applying a thin layer but you don't want so much that it's clumping or gunking. It's not a problem if it occurs because you can buff it off but it just makes it buffing easier if you apply a thinner coat. There's 13 different colors to the Saphir Pommadier cream polish so we really have an unprecedented number of colors to allow you to match almost any finish. One of the questions we always get is how important is the perfect match, and there's really no such thing as a perfect match. One of the things to keep in mind is that this isn't paint, it's not an alcohol based leather dye. I could apply black polish to these burgundy shoes and it would darken the finish but it wouldn't make them black. You're not going to ruin anything by using color that's slightly different than the natural color of the leather, the other thing to keep in mind is part of the beauty of shining your own shoes is that you know the more you shine them, the color and the patina of the shoe itself evolves.
Don't focus too much on color but if you're really worried about darkening the color of your shoes then I recommend using a pigment that is slightly lighter than that than the color you'd like to achieve. One of the other things that's important about the pommadier cream polish and this step is that we're introducing pigment. The pigment is going to recolor any types of scuffs or scratches that may occur and to renew the finish. On the back of my shoes I've got a few small scuffs here.I'm just going to rub the cream polish into that area to conceal that as much as possible. Now that I'm down massaging the Pommadier cream Polish onto the leather, I'm going to give it a few minutes to fully absorb these nutrients. If you want to leave this on overnight you're not going to damage your shoes in any way. I've allowed this Saphir Pommadier cream polish to absorb into the leather for about five minutes. Next take a horsehair shoe shine brush and we're going to buff off any of the extra cream polish and work that wax to a nice soft shine. OK so now that we've applied you know two coats of severe cream Polish we've really renewed the finish.
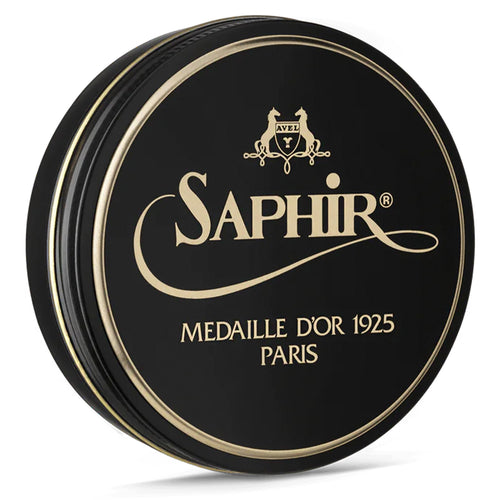
We're beginning to build that protective wax finish with the waxes, the next step is to take the Saphir Medaille D'Or Pate De Luxe wax polish. The Saphir Medaille D'Or Pate De Luxe wax polish has a higher concentration of hard waxes. The carnuba wax, mineral wax, what that's going to do is it's going to build up that hard protective wax finish. We're going to do two coats on the entire shoe. Don't do more than one or two coats of a hard wax polish across the entire shoe because if you get too much buildup across the vamp, the waxes will crack and cause a white residue to form. One or two coats will be enough to protect the shoe. If you want to build up a higher gloss shine on the toe box or the hind quarters, then you can use our high gloss methodology to build up that shine. This is just for the purpose of restoring the finish so we're going to do two coats of the wax polish. I'm using a burgundy wax polish and I'm going to apply it using my cotton chamois. As with all shoe polish, less is more. I prefer using a cotton chamois to apply my polish because I feel like it allows me to control it more, but some people prefer using a dauber unless you're doing the mirror shine, it's not essential that you use a chamois. I'm going to apply some of the wax onto my cotton chamois, then begin massaging the product into the leather using small, circular motions. You just want an even coat around the entire shoe, after you've achieved an even coat allow it to dry, and then you're going to buff it off with a horsehair brush.
We've allowed the Pate De Luxe wax polish to dry for a few minutes before you begin to buff it off. I'm going to take a horsehair shoeshine brush, using moderate to firm pressure, and kind of brisk brushing, I'm going to buff those waxes off. You can really see after just one application of the wax polish we're really starting to see the shine elevate. I'm going to do one more application here. Again. You know at this point in the presidential shoeshine, the purpose of the wax polish is to build that protective wax finish that helps protect the leather against any type of water stains. I'm going apply it to the entire shoe, again, the same process- just a light application across the entire shoe. You can see that these Cleverleys are looking fantastic.
Just a summary of what we've done up to this point: we stripped off all of the accumulated resins, waxes, polish that accumulates over months or years of shoe care, we stripped that off using the Saphir Renomat basically exposing the original leather, then we did a deep conditioning with the Saphir Dubbin Medaille D'Or to penetrate deep into the leather to hydrate it, then we built the finish using the Saphir Renovateur, then continued with pigmented the Saphir pommadier cream polish, and finished with two coats of the Pate De Luxe wax polish. You can see that these shoes compared to where they started, are totally renovated- completely renewed. They look fantastic.
Now that we've spent time making these uppers look fantastic, we don't want to forget about the rest of the shoe, most importantly, you never want to ignore the edge. A beautiful pair of shine shoes that have a terrible looking edge is just embarrassing. What we're going to use here is the renovating repair cream which we use as an edge dressing. I really liked the renovating repair cream over a standard liquid dye-based edge dressing because I find that you're able to do a better job controlling the application. Because this is resin in pigment, it does a good job of filling any type of scuffs or indentations to smooth the surface off. You can simply apply this using your finger, I'm just applying a little bit of this dark brown edge dressing on my finger, and then you're just going to smooth it across the edge. Again, get a little bit on there and then just take your finger and smooth it across, you want to be careful not to get any of this on the upper itself because it is a permanent resin-based dye. The beauty of this is once it dries, you don't have to worry about it rubbing off on anything. So I'm going to take this around the entire edge. You can see that it's a nice dark brown which I like, but once you thin it out, it's not as dark than if you leave it on there really thick. Again, these bespoke shoes have a tight welt so I'm going very carefully around this because I don't have much margin of error. OK. I'm going to allow this a few minutes to dry. The Edge has been recolored.
The last step of the presidential shoe shine is to use the Saphir Medaille D'Or sole guard to condition and waterproof the soles of the shoe. The most overlooked part of a high quality dress shoe is most often the sole. The Saphir sole guard is a highly refined vegetable oil that is going to condition the sole and has been modified in the laboratory to provide waterproofing. So what that does is it helps prevent the sole becoming waterlogged, it helped prevent salt damage, and it's going to prevent premature wear of the actual leather dress sole. The way that you apply is with a cotton chamois. Again you want to apply it sparingly, you don't want any type of excess on the actual sole itself. I'm going to apply it to my chamois and then massage it in. So take several applications because the leather sole absorbs this pretty readily. After you apply this you're going to want to allow at least an hour if not a little bit longer for the leather sole to fully absorb the Sole Guard and for it to set. It is a non slippery formulation. Another thing that's nice about the sole guard is it's been modified so that it doesn't rub off once it's dried. So here I'm applying it to the sole, saturating the leather sole with that you know it kind of running. And I'm just going to do this to the sole, I'm not going to do to heel. So that's it for the leather sole guard.
Allow this at least an hour to dry. You can come on top with a second application but if you do a second application you want to allow that at least six hours to dry before you wear your shoes.
Now that we've allowed the Saphir Sole Guard to dry overnight, I want to demonstrate the difference.: This is the sole where I applied the Sole Guard. You can see the water just beat up and roll right off. That's the waterproofing that you get with the sole guard. On this shoe, I didn't apply the sole guard just because I wanted to demonstrate the difference and you can see how the water soaks in, it doesn't beat up like it does on this one. So you can see after having to apply that water you can hardly see any water penetration on the sole that we applied the Sole Guard whereas the one that didn't have a sole guard the water saturated the sole. So the difference that it makes over the lifetime of the shoe is it just prevents the premature wear of the leather sole by reducing the amount of water that's really penetrating into the sole and then you know for people that live in winter states where you have salt on the ground, again, reducing the penetration of the salt into the leather sole which can affect wear.
And that's it for the presidential shoe shine. You can see that the presidential shoe shine is a really thorough, rigorous shine that is only meant to be done once a year- maybe twice a year depending on how often you're wearing your shoes. As you can tell from these Cleverley's I mean they've really been given a completely new lease. They look fantastic I can't wait to wear them. So thanks for joining us. I hope you enjoyed this presidential shoeshine tutorial. If you have any questions feel free to comment below. We do answer those or e-mail us at customerservice@kirbyallison.com. Be sure to visit KirbyAllison.com to visit our full collection of luxury shoe care accessories.


