The reason why you would want to patina your shoes is to allow a newer shoe to have the character of an older shoe without the wear

Shoe antiquing
As the toe box is repeatedly buffed, and other areas repeatedly flexed, the cellular structure of the surface of the leather becomes more exposed. Because of this the more worn areas absorb more oils from polish (and conditioners) as well as some of the color pigment in the shoe polish wax, causing the area to darken, or “antique.”
In the absence of time, shoe antiquing is done manually in one of two ways:
- Dying the leather with shades of the same color (less common; not recommended)
- Applying shoe polish in shades of similar color (more common; recommended)
Clean Off as Much Residual Shoe Polish as Possible
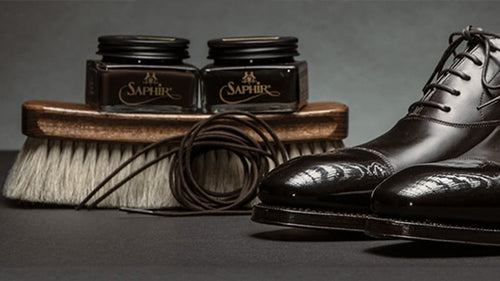
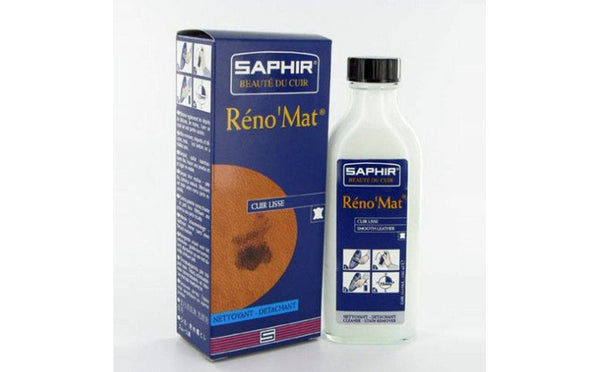
First, you must clean as much of the existing shoe polish off the shoe as possible. Any good leather cleaner should help with this process, but if there is a lot of wax buildup on the shoe, use Saphir RenoMat will delivery the best results. This product is designed to strip off anything placed on top of the original leather and is safe to use on even the finest shoes.
The reason it is important to strip off any old wax polishes is that you do not want to fight with a lot of existing polish/wax when you are trying to antique your shoes. Starting with a clean leather will produce the most consistent and easiest results.

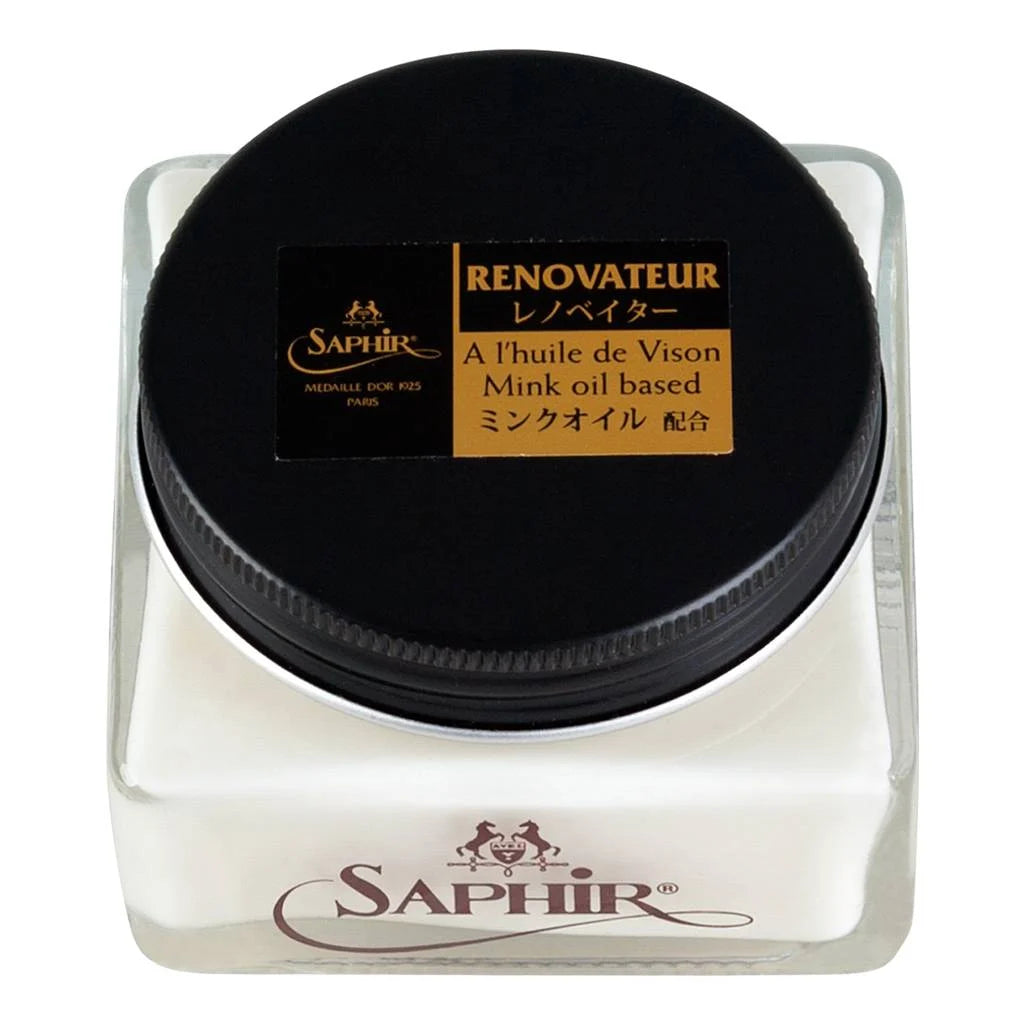
Condition the Leather with Saphir Renovateur
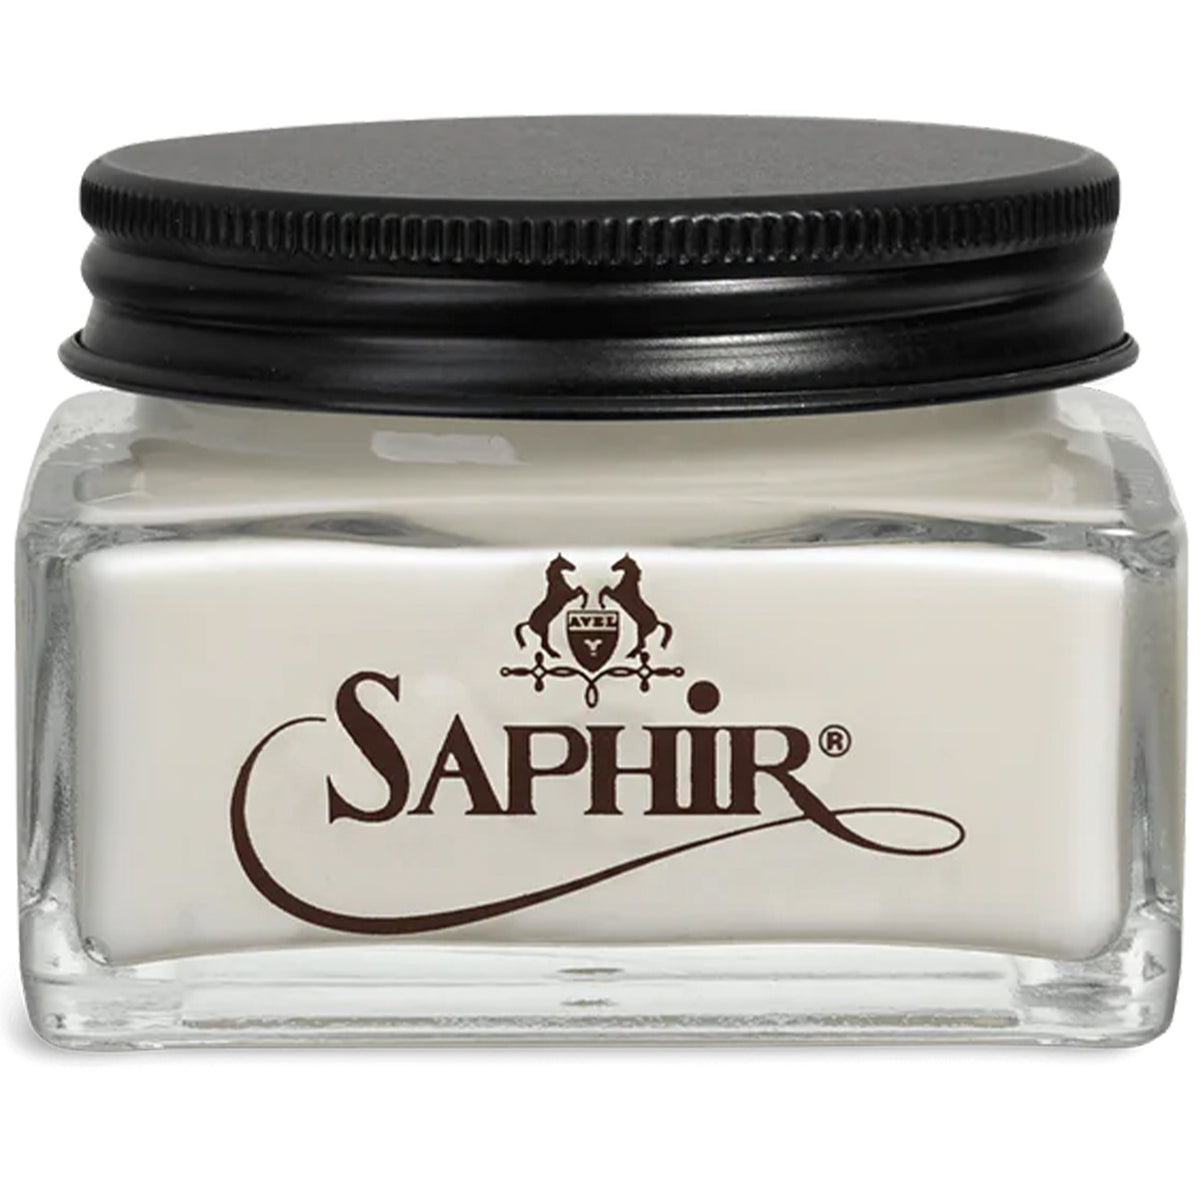
After you strip all of the waxes off of the leather and before you apply pigmented polish, take the opportunity to condition the leather with Saphir Renovateur. This will nourish the leather with any oils and nutrients that have been lost over time or that the Saphir Reno’Mat removed. This is a good practice, anyway, as it will prevent leather drying out and cracking.
Apply a liberal coat of Saphir Renovateur with a cotton chamois, allow it to dry for a day (if you have time), and then buff off using a horsehair shoe polishing brush.

Apply Two to Three Base Coats of Cream Polish
Since the Reno’Mat stripped off all protective waxes from the entire shoe, exposing the original leather, it is important to rebuild a base finish before antiquing your shoes.
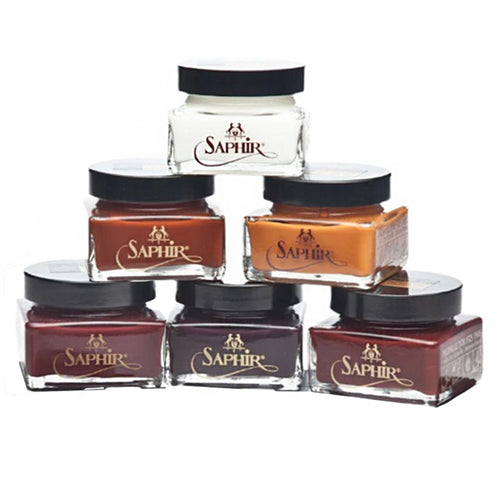
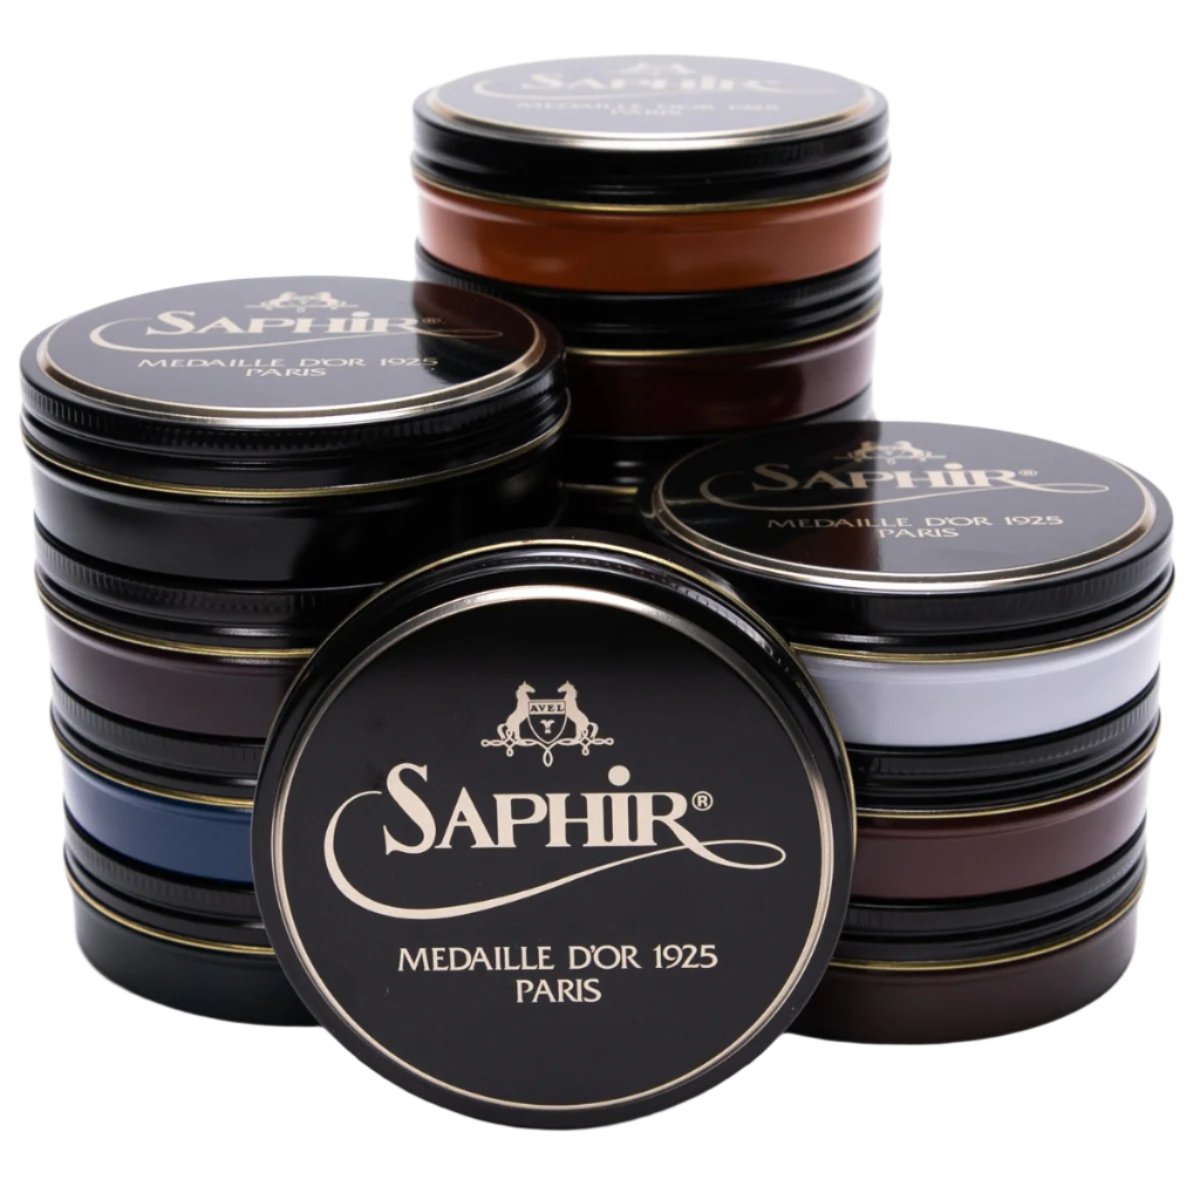
Since cream polish has more oil and pigments and less wax than wax polish, it best to use cream polish for your base coat. This will allow the polish to fill the small scrapes and scratches with the base color more easily than paste wax.
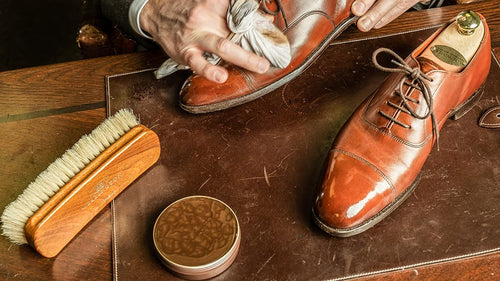
Apply a Saphir Pommadier Cream polish that best matches the original color of the leather to the entire shoe with a cotton chamois. Allow the polish several minutes to dry, buff off with a horsehair shoe polishing brush, and then reapply. It is best to apply two to three coats in order to build the finish and a layer of protective layers.

Apply Darker Polish to Antique
The areas you wish to antique, apply a Saphir Cream Polish one shade darker than the color you used in Step 3 to darken the shoe. Apply the polish like you would normally, using a cotton chamois to massage the pigments and oils into the leather. Allow the polish to dry, and then buff off with a cotton chamois. Repeat until you achieve the desired darkness. Each successive coat will saturate the leather with additional pigments and oils from the darker polish, causing the leather to antique (darken). The more coats, the darker it will become.
IMPORTANT: In order for manual antiquing to appear natural (and look good), it is important to apply the polish to the areas shown below.

Where to Apply the Darker Polish
What makes a shoe looked aged (color wise) is in the various shadings of light and dark. On older shoes the darker areas are caused by repeated polishing over wear on the leather as well absorption of oils and dyes on the seams. Since the front of the toe of a shoe gets more wear than the top of the shoe cap, the front of the toe of an older shoe will be darker than the top. The same is true of the heel counter on the back of the shoe. To replicate this look on a newer shoe you want to use a darker polish on the front of the toe, the heel counter, and the shoe seams.

What Color Shoe Polish to Use
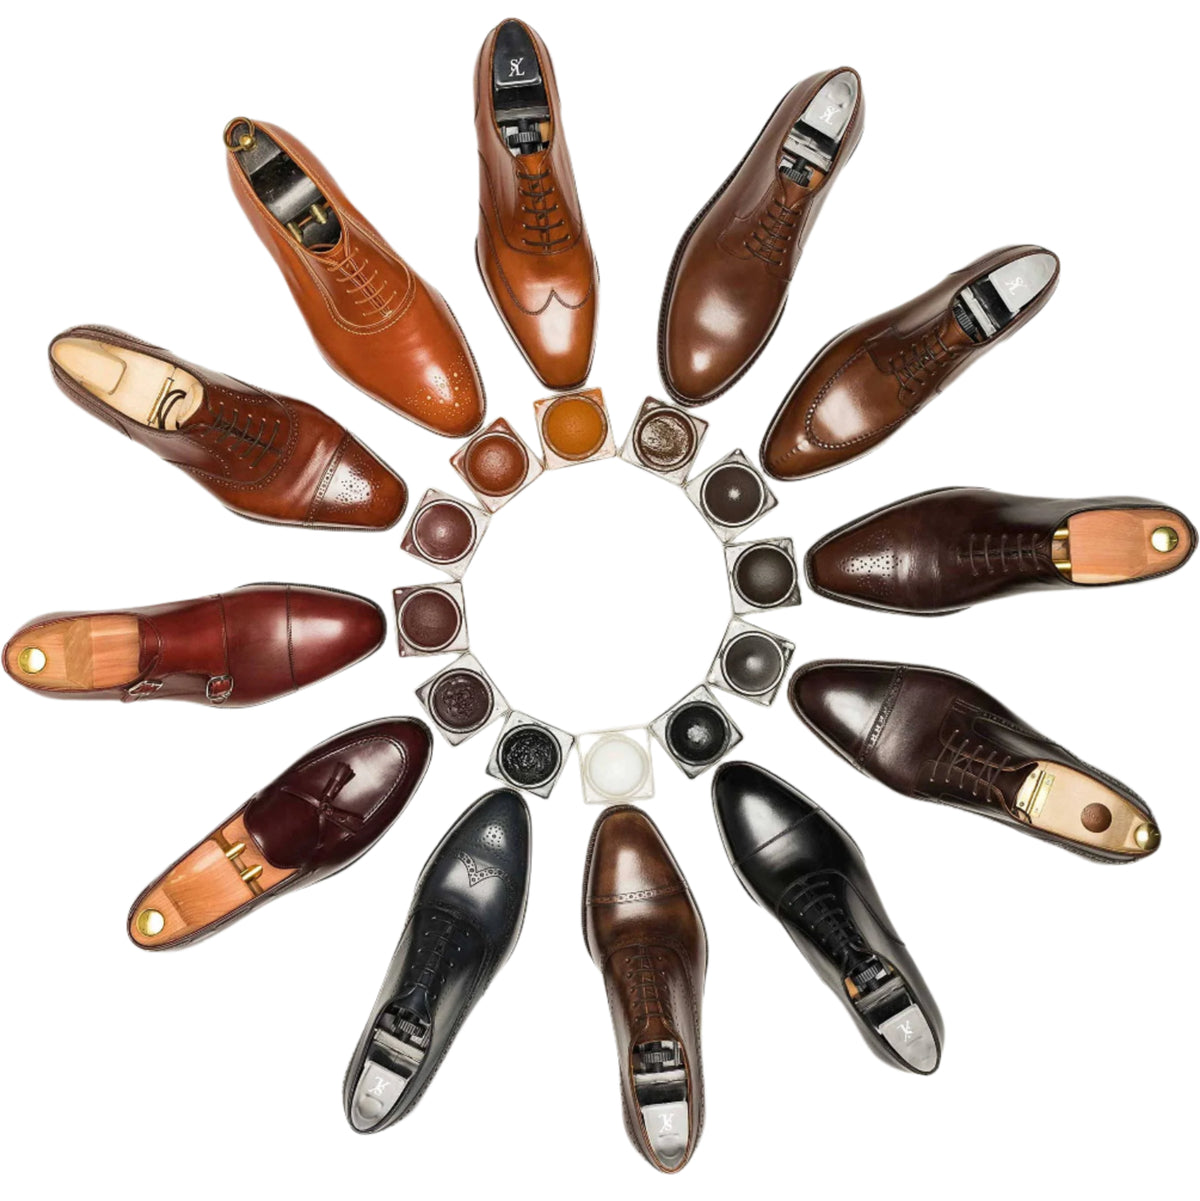
In order to create the effect of antiquing, you must apply a darker polish to the areas indicated above than the natural color of the leather. For example, if the shoes are a tan or light brown color use a medium or dark brown polish to create the antique effect.
If you have dark brown or burgundy shoes use black to create the antique effect. Don’t worry about using black polish on dark brown shoes. The dyes in shoe polish are relatively weak, and will only add a slight, translucent, darkening effect. Avoid putting on thick coats of paste polish however (even on shoes that you don’t antique).
Black shoe can be antiqued, but require lightening areas like the top of the shoe cap, the quarters, and the facing (basically the opposite areas than when antiquing brown shoes, as you are creating the opposite effect). Use Saphir’s Dark Blue and Bordeaux polishes for this effect.
A well-polished shoe should never have more than 6 to 8 coats of polish max.
Antiquing is just polishing a shoe using darker (or lighter, in the case of black) colors to create some aged character to the shoes.
You can also try different shades of different colors for blending effects if you like. It’s fun to play with, and if you don’t like the results just strip of the polish and start over.


