Learn how to take your unfinished edges and heels and refinish them to produce a highly polished dress edge and heel.
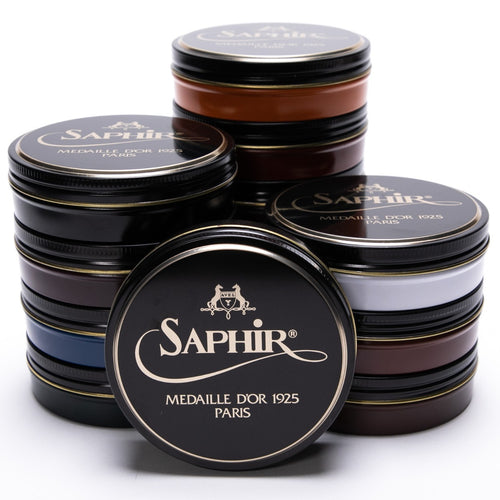
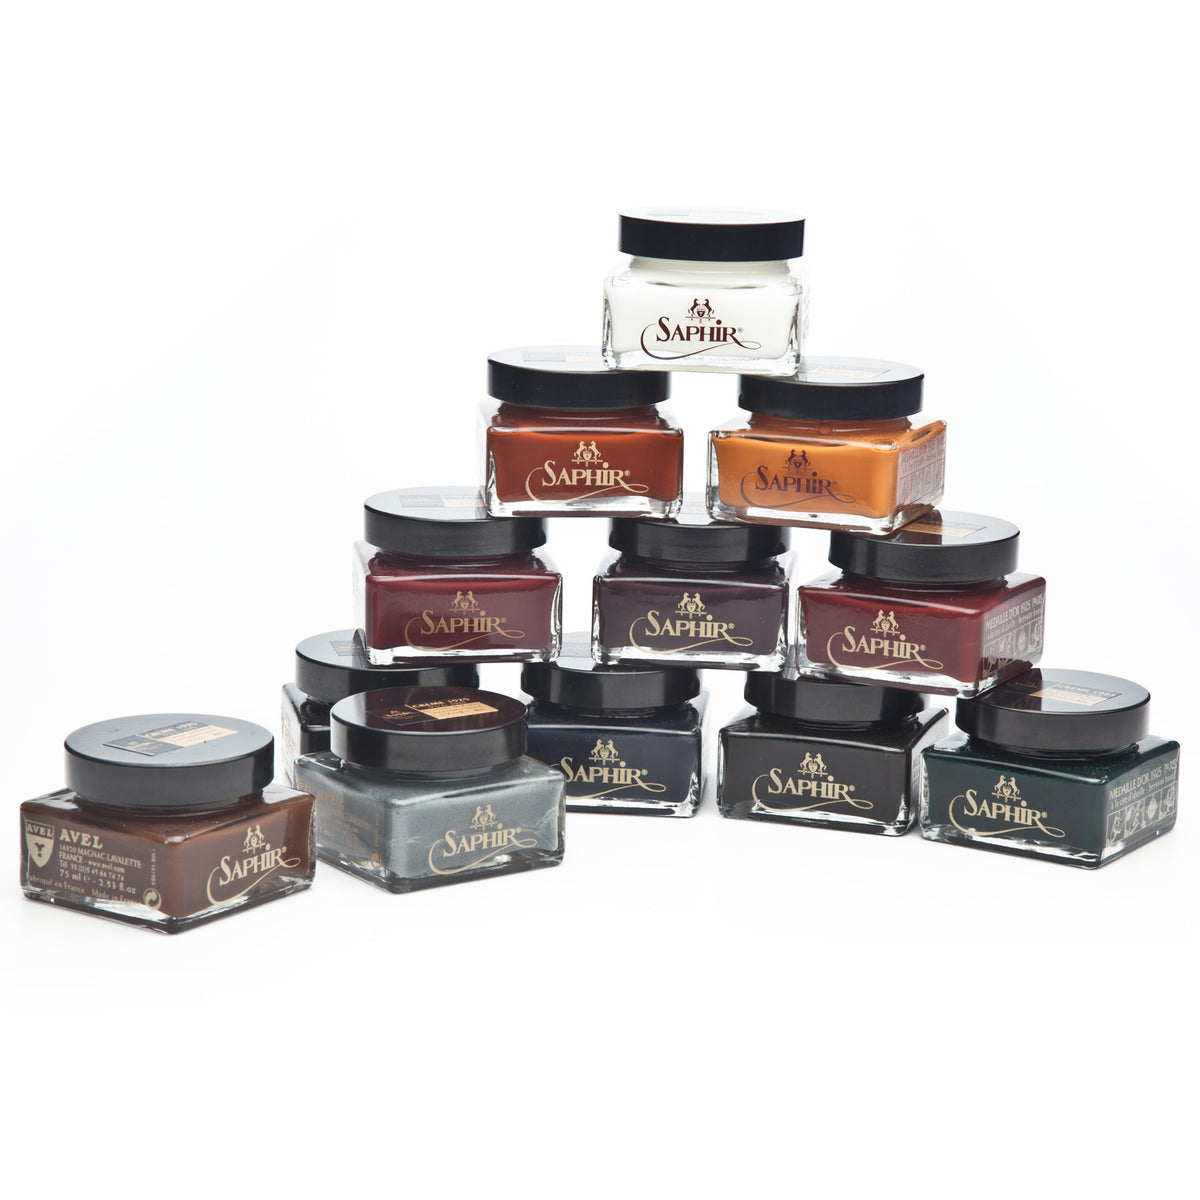
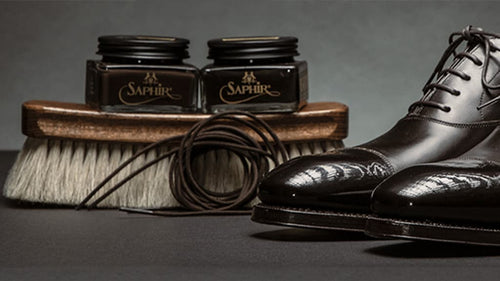
Products used in this video:
Transcription
Hi I'm Kirby Allison, founder of The Hanger Project. The purpose of this video is to show you how to take your uneven, unfinished edges & heels and refinish those to produce a nice, highly polished, and clean dressed edge & heel. In this tutorial which is probably our most comprehensive edge heel care video, we're going to be using the alcohol based liquid leather dye from Saphir Teinture Francaise to finish our edges. The general overview of this is that we're first going to smooth out our edges using a very fine sandpaper, then we're going to dye it using an alcohol-based liquid leather dye used as an edge dressing, and then finally we're going to finish them off with a little bit of neutral wax polish in order to provide that nice high shine that you expect from a new pair of dress shoes.
These are a pair of my Anthony Cleverley Baron de Rede buckskin tassel loafers, probably my favorite pair of casual shoes that I own- super easy to wear and incredibly elegant. One of the problems that you can see with the regular use of these shoes, is something that I call driver's heel. Basically, anyone that's driving in their vehicle a lot is going to wear the right heel of their shoe faster than the other shoe because of the driver’s pedal. As you can see, this is really uneven and it's just not a smooth edge anymore.
What we're going to do first is we're going to take a really fine sandpaper to sand that edge down, to smooth it out before we re-dye it using the Teinture Francaise alcohol based liquid leather dye. The first step here is I'm going to use a really high grit fine sandpaper that I bought at a local hardware store to basically sand down and re-smooth any unfinished elements of the edge. Now, whenever you do this, you're going to see the color strip away from whatever previously applied edge dressing, but don't worry about that because you're going to completely redo the edge using the liquid based edge dressing in the next video. Take a little bit of really fine sandpaper and then anywhere that you see an uneven, unsmooth surface, just take this and sand it. You may want to experiment with different types of grits. This is a really high grit, fifteen hundred sandpaper, but honestly I think it may be a little bit overkill-I could probably use an 800 grit. Using sandpaper to sand down your edges is completely optional and it's just based on a judgment call as to whether or not you're comfortable doing it, and whether or not you think your edges need it. So, if you have any really rough or uneven areas of your edge or your heel, that's where the sandpaper comes in and is very helpful. But if you feel across it with your finger or you're just looking at it and you don't see any areas of unevenness that you think need to be sanded, you can completely skip this step.
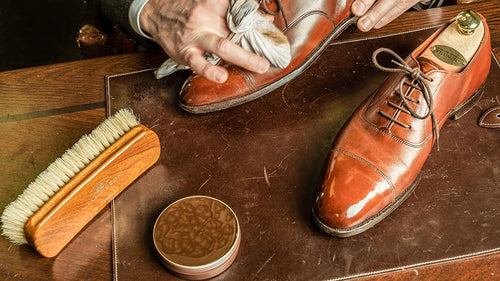
Next we're going to re-color the edge using Saphir's Teinture Francaise alcohol based liquid leather dye. Now we're using this as an edge dressing but all edge dressings really are just leather dyes. I prefer using the liquid-based leather dye versus the cream based renovating repair cream, just because I find that it does a better job penetrating the edge, and it really just leaves that natural look of stacked heels, and a highly finished kind of bespoke edge than a cream based edge dressing. One thing to be careful of is that this is a permanent leather dye. I'm using a leather shoeshine carpet to protect my desk and you have to be very careful when applying this to your edges and not to actually make contact with the upper leather because if you do dye the leather there is nothing to do to remove that, so you have to be very careful and that's why I would certainly say that this is a little bit more of an advanced application.
I'm going to wet the little cotton applicator and then I'm going to try to remove as much of this excess dye from the applicator as possible. And again, the purpose is to just help me further control the amount of dye that I'm applying. Take the applicator and you're just going to brush it across the heel. You can see that alcohol based dye really soaks into the leather. Now be very careful, especially kind of along the waist of the shoe where the heel- where the edge is very tight or cut close to the actual upper, and then just rub this along the edge, and allow it to soak in. Now you can see you need a little bit of time for the alcohol to absorb into the leather. Again, because this is an alcohol based dye, the leather is really going to soak it in, so just allow a little bit of time to dry before you turn it over and then just continue to dye this heel. Again, being very careful around the actual upper, and then if you feel that you need more saturation, just do more applications.
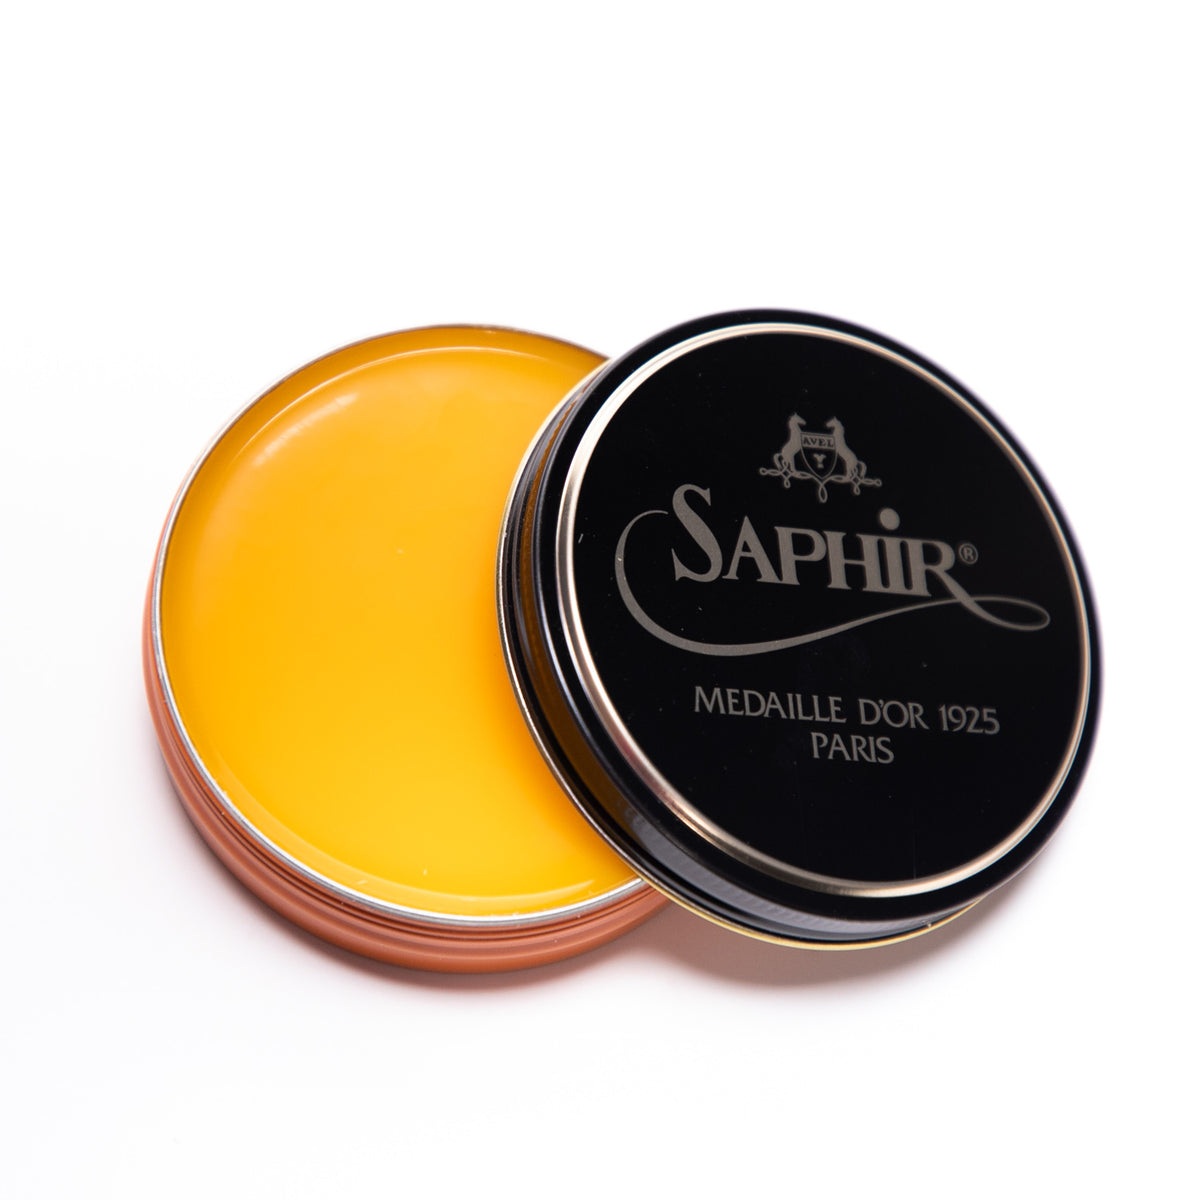
So it really doesn't take much to fully dye the heel. Make sure you put the cap back on so that you don't have this spilling. And then allow this alcohol based dye to dry for three to five minutes. Now one of the things that you'll see is after you apply the leather dye, you're going to end up with a really dull heel. Now I think that a highly polished heel is much sharper than a dull one, so what we're going to do next is we're going to come on top of this with some of the Saphir Medaille d'Or Pommadier wax polish to just wax the edge and the heel to provide that shine.
So now that you've allowed the liquid based edge dressing to dry, the next step and again, optional, but one that I prefer is to then come on top of it using a neutral wax polish to just shine the edge in the heels. So I'm going to apply Saphir Pommadier neutral wax polish with a welt brush. Now with these suede shoes it's particularly important to be careful because what I don't want with suede, which really would be less of a problem with standard calfskin, is to get into the wax polish on the suede itself, so I'm going to be really careful here in my application. Now there's two benefits to applying a wax polish using a welt brush: First is that with any type of Goodyear welted shoe, the wax actually helps nourish and protect the welt stitching in addition to shining the shoes. I'm just going to apply some of this on the edge, and then being very careful, I'm going to try to get into the actual welt without getting any of the wax polish on the suede. Now as I said, if this was a pair of calfskin shoes I'd be able to be a lot less careful. I'm just applying this here using a brush. Now one of the things that you could also try that I haven't yet, is to use the mirror gloss for this step because again, it's a harder based wax polish. Which will probably give you an even better shine for the heels and edges. I'm just applying the wax polish, you know you really don't need to massage it in there super tough. OK. I've applied the Pommadier wax polished to the edge, now I'm going to allow this 5 to 10 minutes to fully dry before I come back on top of it using another dauber to buff that up. After I've allowed the Saphir Pate De Luxe wax polish to dry, I'm going to take a clean Dauber and basically buff that wax off.
So using brisk motions, I'm just buffing that edge and that heel. The purpose here like the effect is really the same thing that you would see if you're actually polishing a wax polish on the uppers, is it you're simply going to bring that wax polish up to a higher shine. The effect is subtle but you can absolutely see that we've brought up the shine of these heels. So not only have we smoothed them out using the sandpaper, but we recolored them using the Saphir Teinture Francaise alcohol based leather dye, and then now we waxed and shined them using a standard Pate de Luxe wax polish. With this edge care video we've taken a dull, uneven edge and heel and we've completely refinished that to a heel that's almost as good as a new pair of shoes if not, actually even better. We did that using a little bit of sandpaper to smooth the edge, followed by the Teinture Francaise alcohol based liquid leather dye to recover the edges, and then we finished it off the little bit of the Medaille d'Or Pate de Luxe wax polish to then shine those edges and give them just that little bit of extra pop. As you can see, these edges and heels look fantastic and the shoes are ready for another day out.
So thanks for joining us. I'm Kirby Allison founder of The Hanger Project. If you have any questions about this video feel free to email us at shoeshine@Hangerproject.com or ask in the comments section below. We love hearing questions and if there's anything we can do to help you take care of your shoes let us know.